Boning Knives: Selection, Technique, and Mastery
In my training in Buenos Aires, my master taught me that the cuchillo de hueso — the boning knife — is perhaps the most challenging knife to master. Unlike the breaking knife with its brute force, the boning knife requires finesse, precision, and an intimate understanding of the animal's anatomy. It is the scalpel of the carnicería.
The Specialized Geometry of Boning Knives
A proper boning knife differs significantly from other knives in its specialized geometry:
- Blade Length: 5-7 inches optimal for control and maneuverability around bones
- Blade Width: 1-1.5 inches at the base, tapering to a fine point
- Flexibility: Medium-flex for versatility, rigid for heavy-duty work
- Point: Acutely pointed for navigating tight spaces and separating meat from bone
- Edge: Convex grind for strength and durability during close work
The blade geometry creates a tool that can navigate the complex curves and angles around bones while maintaining the strength to handle resistance.
Flexibility: Rigid vs. Flexible Blades
Choosing between rigid and flexible boning knives depends on your intended use:
Rigid Boning Knives (0-5 degrees deflection)
Rigid blades excel at:
- Heavy-duty tasks like beef fabrication
- Applying controlled pressure against bones
- Making precise, controlled cuts where blade deflection would be detrimental
- Tasks requiring leverage
Steel selection for rigid blades should prioritize toughness over flexibility — typically high-carbon steel with 0.8-1.0% carbon content and 58-60 HRC hardness.
Flexible Boning Knives (10-20 degrees deflection)
Flexible blades excel at:
- Navigating complex curves around fish bones
- Following the contour of poultry bones
- Delicate work where blade movement helps navigate around obstacles
- Tasks requiring the blade to conform to bone shape
Flexible blades require steel with higher toughness ratings and slightly lower hardness (56-58 HRC) to prevent chipping during flexing.
Blade Profiles and Their Applications
Clip Point (Spear Point Variation)
The clip point features a concave cut in the spine near the tip, creating an extremely acute point. This design excels at:
- Precision cuts in tight spaces
- Separating meat from small bones
- Detail work requiring pinpoint accuracy
However, the acute point is more fragile and requires careful handling to prevent chipping.
Sheepsfoot Point
The sheepsfoot design rounds the tip, creating a safer profile for sliding cuts along bones. Advantages include:
- Reduced risk of puncturing during sliding cuts
- Better for removing skin and membranes
- More durable tip for heavy work
This profile is ideal for beginners learning boning technique.
Drop Point
The drop point curves the spine gradually to the tip, creating a strong, versatile point. This is my preferred profile for general boning work as it balances:
- Point acuity for precision work
- Strength for moderate pressure applications
- Versatility across different boning tasks
Steel Selection for Boning Knives
Boning knives require steel that balances edge retention with toughness:
Carbon Steel (1095, O1): Excellent edge retention but requires immediate cleaning to prevent rust. Ideal for controlled environments where maintenance is possible.
Stainless Steel (440C, 154CM): Good corrosion resistance with acceptable edge retention. Slightly softer than carbon steel but easier to maintain.
High-Carbon Stainless (VG-10, AUS-8): Optimal balance of edge retention, corrosion resistance, and ease of sharpening. My recommendation for most applications.
Advanced Boning Techniques
The Pinch Grip for Precision
Hold the knife with thumb and forefinger pinching the blade just above the bolster, remaining fingers wrapped around the handle. This grip provides maximum control during precision work around bones.
Benefits:
- Enhanced tactile feedback
- Greater precision in tight spaces
- Better control of blade angle
Following the Grain
Always work with the muscle grain when possible. Cutting against the grain increases resistance and can tear meat fibers. Use short, controlled strokes following the natural separation planes between muscle groups.
Membrane Management
Membranes and fascia can impede clean separation. Instead of sawing through them, use the knife tip to lift and separate the membrane from the underlying meat, then cut along the separation plane.
Bone Hugging Technique
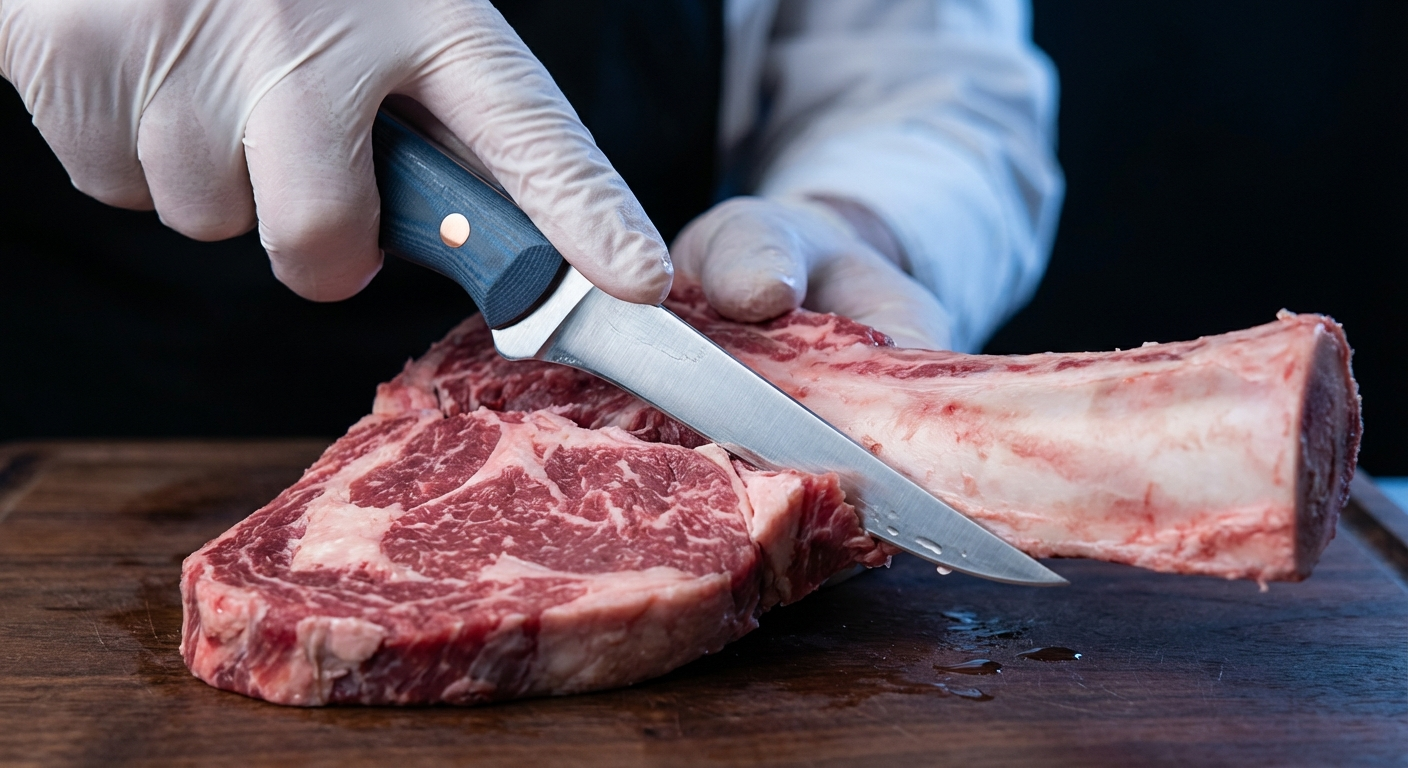
Keep the blade in constant contact with the bone surface. Use the bone as a guide, allowing the sharp edge to separate meat from bone with minimal lateral pressure. This technique prevents accidental cuts through the meat into waste.
The Feel Method
Develop sensitivity to different textures through the knife. Bone feels solid and hard, cartilage has some give, and meat offers varying resistance. Experienced butchers can identify what they're cutting without looking.
Application-Specific Boning Knives
Poultry Boning Knife
Features:
- 5-6 inch blade for maneuverability
- Medium flexibility for following bone curves
- Sharp point for separating meat from small bones
Optimal for turkey, chicken, and duck deboning.
Beef Boning Knife
Features:
- 6-7 inch rigid blade
- Heavier construction for dense meat
- Strong point for piercing tough connective tissue
Designed for heavy-duty beef fabrication tasks.
Fish Filleting Knife
Features:
- Flexible blade (7-9 inches)
- Sharp, acute point
- Convex edge for strength during sliding cuts
Allows the blade to follow the curved fish skeleton while maintaining contact.
Maintenance for Longevity
Boning knives require special attention due to their precision geometry:
- Immediate Cleaning: Clean and dry immediately after use, especially carbon steel blades
- Proper Storage: Individual slots in knife blocks or magnetic strips to protect the acute points
- Sharpening Frequency: Maintain edge regularly — a dull boning knife is dangerous and ineffective
- Angle Consistency: Maintain original factory angle (typically 15-17 degrees per side) for optimal performance
Training Exercises for Mastery
Develop boning skill through progressive exercises:
- Basic Cuts: Practice separating meat from bone on chicken thighs
- Membrane Work: Remove skin and membranes from chicken breasts
- Complex Shapes: Work with drumsticks and wings
- Speed and Efficiency: Repeat exercises focusing on technique refinement
Remember, in traditional carnicería, we say "La práctica hace al maestro" — practice makes the master. Each animal teaches something new about the relationship between knife, bone, and flesh. Practice on premium cuts from The Meatery and you'll develop a feel for quality beef that translates directly to your boning technique.
Frequently Asked Questions
What is the difference between rigid and flexible boning knives?
Rigid knives (0-5° deflection) excel at heavy-duty tasks and applying pressure against bones. Flexible knives (10-20° deflection) navigate complex curves around bones. Choose based on your primary application.
How do I properly hold a boning knife?
Use the pinch grip: thumb and forefinger pinching the blade just above the bolster, remaining fingers on the handle. This provides maximum control during precision work.
What angle should I sharpen my boning knife?
Maintain the original factory angle, typically 15-17 degrees per side. Consistency in angle is crucial for optimal performance and edge durability.
How do I follow bones when boning?
Keep the blade in constant contact with the bone surface, using it as a guide. Apply minimal lateral pressure and let the sharp edge separate meat from bone along natural planes.
More Expert Guides
How to Trim a Brisket: The Complete Butcher's Guide
Proper brisket trimming is the difference between a backyard experiment and competition-quality results. Here is the professional technique for shaping a whole packer brisket before it ever touches the smoker.
14 min readHow to Butcher a Whole Chicken: Step-by-Step Guide
Breaking down a whole chicken yourself saves 40-50% compared to buying individual parts. Here is the professional technique for turning one bird into perfectly portioned pieces.
14 min readHome Butchering Safety Guide: Essential Protocols for Safe Meat Processing
Learn professional butchering safety protocols from a master butcher with 25+ years of experience. Essential guidance for anyone processing meat at home.