Breaking Down a Whole Beef: Step by Step
When I first arrived in the Basque Country to apprentice, I stood before my master as he prepared to break down a whole side of beef. "Mira y aprende," he said — "watch and learn." The precision, the economy of motion, the deep understanding of the animal's structure — it was like watching a master sculptor work with flesh instead of stone.
Breaking down a whole beef is the pinnacle of butchery skill. It requires understanding not just the knife work, but the animal's anatomy, the relationship between muscle groups, and the philosophy of utilization. Each cut should maximize value while honoring the animal.
Preparation and Equipment
Before beginning, ensure you have the proper setup:
- Knives: 10-inch breaking knife, boning knife, utility knife, cleaver
- Cutting Board: Large, stable surface with groove for juice collection
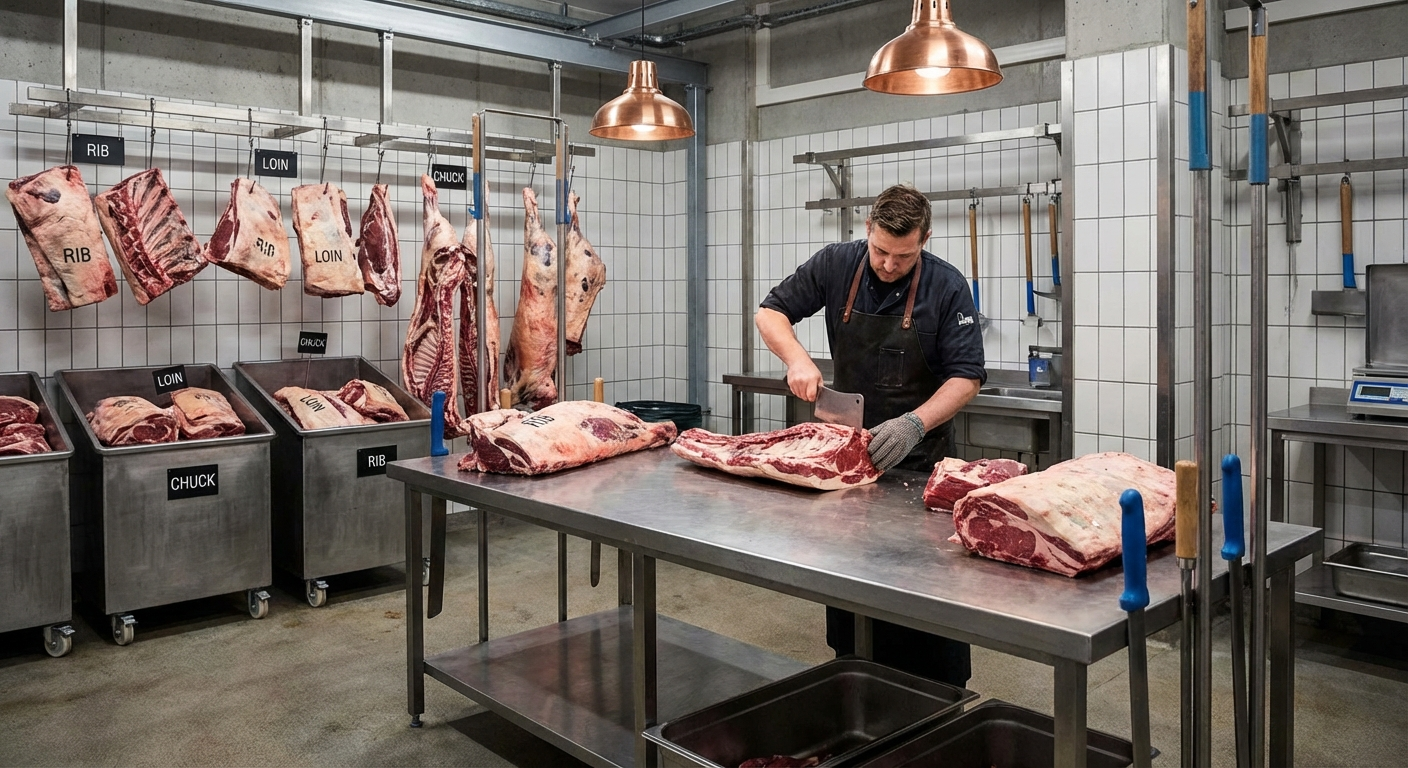
- Lighting: Bright, even illumination to see anatomical landmarks
- Temperature: Cool environment (34-38°F) to maintain meat quality
- Safety: Cut-resistant gloves for non-knife hand
Understanding the Hanging Position
A side of beef hangs with the loin facing up and the round facing down. The natural curvature of the spine creates distinct sections that become your primal cuts. Understanding this orientation is crucial for proper knife placement and angle.
Key anatomical landmarks to identify:
- The Spine: Runs along the top, marking the boundary between loin and rib sections
- The Hip Bone: Prominent landmark separating loin from round
- The Blade Bone: Indicates the boundary between chuck and rib
- The Femur: Long thigh bone indicating round section
Step 1: Initial Assessment
Examine the side carefully before making any cuts. Look for:
- Where natural separations occur between muscle groups
- Locations of major bones and joints
- Areas of heavy connective tissue that indicate separation points
- Any irregularities or variations from standard anatomy
In Argentina, we say "Lee la carne" — read the meat. The animal tells you where to cut if you know how to listen.
Step 2: Separating the Chuck from the Rib
Begin at the 5th rib, where the chuck primal meets the rib primal. The natural separation occurs between the 5th and 6th ribs, following the costochondral junction where the rib connects to the cartilage.
Technique:
- Position your 10-inch breaking knife at the 5th rib location
- Angle the blade slightly upward, following the natural curve of the rib
- Apply steady, even pressure while guiding the blade along the separation plane
- Feel for the cartilage connection and cut through it cleanly
- Continue through to the backbone, separating the chuck from the rib
The chuck primal contains the shoulder muscles — the clod, the blade, and the chuck roll. Keep the blade in contact with the rib bones as you work.
Step 3: Removing the Rib Primal
With the chuck separated, focus on the rib primal. This section contains the highly valued ribeye muscles and represents significant value in the breakdown.
Locate the 12th rib — this marks the traditional boundary between the rib and loin sections. The 12th rib is typically more prominent and has a distinctive curve.
Separation Technique:
- Insert the knife at the 12th rib, angling toward the backbone
- Follow the rib bones down toward the belly, cutting through intercostal muscles
- Work systematically through each rib, maintaining contact with the bone surface
- Remove any remaining connective tissue attaching the rib primal to the loin
The rib primal should come away cleanly, containing ribs 6 through 12 with their associated muscles.
Step 4: Separating the Loin from the Round
At the hip joint, locate the natural separation between the loin and round primals. This occurs at the junction of the lumbar vertebrae and the hip bone (os coxae).
Identification: The hip bone creates a distinctive "Y" shape when viewed from the side. The vertical bar of the Y is the ilium, and the horizontal bar connects to the pubis and ischium.
Separation Process:
- Begin by cutting through the muscle attachments at the hip joint
- Identify the psoas muscle (tenderloin) running along the spine
- Follow the natural separation plane between the hip bone and loin muscles
- Remove the aitch bone (os coxae) by cutting around its perimeter
This separation requires patience and careful observation of anatomical landmarks.
Step 5: Processing the Loin Primal
The loin primal contains the most valuable cuts — the tenderloin, strip loin, and the beginning of the sirloin. Proper separation maximizes value from this section.
Removing the Tenderloin:
- Locate the tenderloin along the inner surface of the loin
- Follow the natural membrane covering the muscle
- Cut along the membrane, keeping the blade against the bone
- Remove in one piece if possible, or in sections if necessary
Separating the Strip Loin: The strip loin (longissimus dorsi) lies along the top of the loin. Follow the natural separation plane between it and the top sirloin.
Step 6: Processing the Round Primal
The round primal requires careful separation of its multiple muscle groups. Each muscle has different characteristics and value.
Key Muscles in the Round:
- Top Round (Rectus femoris): Large, lean muscle suitable for roasting
- Bottom Round (Biceps femoris): Dense muscle with good flavor
- Eye of Round (Vastus intermedius): Small, cylindrical muscle
- Sirloin Tip (Vastus lateralis): Located at the top of the round
Separation Technique:
- Begin by identifying the natural separations between muscle groups
- Follow the connective tissue planes that separate each muscle
- Use the boning knife for precision work around bones
- Keep the blade against bones to avoid meat waste
Step 7: Processing the Chuck Primal
The chuck primal contains numerous valuable cuts hidden within its complex muscle structure. Proper fabrication reveals these treasures.
Key Areas in the Chuck:
- Chuck Roll: Central portion containing flat iron and other specialty cuts
- Clod Muscle: Lower portion with good marbling potential
- Shoulder Clod: Upper portion adjacent to the blade bone
Flat Iron Extraction: Perhaps the most valuable cut hiding in the chuck. Located in the chuck roll, this muscle (infraspinatus) is the second most tender after the tenderloin.
Technique:
- Locate the blade bone and the shoulder clod
- Identify the diamond-shaped flat iron muscle
- Cut along its natural boundaries, following the connective tissue
- Remove intact for maximum value
Step 8: Processing the Rib Primal
The rib primal contains the premium ribeye muscles and requires careful separation to maximize value.
Identifying the Ribeye Muscles:
- Longissimus dorsi: Main eye of the ribeye
- Spinalis dorsi: The "cap" of the ribeye
- Complexus: Smaller muscle at the top of the rib
Separation Process:
- Remove the rib bones by cutting between them and the meat
- Separate the spinalis from the longissimus along their natural division
- Keep the muscles intact for maximum value
Quality Control and Inspection
Throughout the process, inspect each primal for:
- Signs of bruising or damage
- Excessive waste or meat left on bones
- Proper removal of unwanted fat or connective tissue
- Correct identification of muscle groups
Quality is as important as speed in professional butchery.
Sanitation and Food Safety
Maintain strict sanitation throughout the process:
- Clean and sanitize knives frequently
- Prevent cross-contamination between different sections
- Keep meat at proper temperature (40°F or below)
- Minimize time between cuts to maintain quality
Final Yield and Utilization
A properly executed beef breakdown should yield approximately:
- Chuck: 26% of total weight
- Rib: 14% of total weight
- Loine: 8% of total weight
- Round: 22% of total weight
- Other Primals: 30% (brisket, plate, flank, shank)
Each primal should be properly wrapped, labeled, and stored according to its intended use timeline.
The art of breaking down a whole beef connects us to the ancient tradition of butchery — honoring the animal while maximizing its gift to nourish others. Each cut should reflect respect for both the craft and the creature that provides our sustenance. Whether you're breaking down a whole animal or portioning premium A5 wagyu sub-primals, these fundamentals remain the same.
Frequently Asked Questions
How long does it take to break down a whole side of beef?
An experienced butcher takes 45-60 minutes to properly break down a side of beef. Beginners may take 90-120 minutes. Speed comes with practice, but quality should never be sacrificed for speed.
What is the most valuable primal cut?
The rib primal contains the most valuable cuts, including ribeye steaks and the spinalis dorsi. The loin primal with tenderloin and strip loin is also highly valuable. Together, these two primals represent about 22% of the carcass value.
What knife should I use for separating primals?
A 10-inch breaking knife is essential for primal separation. The length provides leverage for heavy cuts, while the blade geometry handles the thickness of primal sections. A boning knife is needed for detailed separation work.
How do I identify natural separation points?
Look for connective tissue planes, fascia layers, and changes in muscle fiber direction. These natural barriers indicate where muscles separate. The animal tells you where to cut if you know how to read the anatomy.
More Expert Guides
How to Trim a Brisket: The Complete Butcher's Guide
Proper brisket trimming is the difference between a backyard experiment and competition-quality results. Here is the professional technique for shaping a whole packer brisket before it ever touches the smoker.
14 min readHow to Butcher a Whole Chicken: Step-by-Step Guide
Breaking down a whole chicken yourself saves 40-50% compared to buying individual parts. Here is the professional technique for turning one bird into perfectly portioned pieces.
14 min readHome Butchering Safety Guide: Essential Protocols for Safe Meat Processing
Learn professional butchering safety protocols from a master butcher with 25+ years of experience. Essential guidance for anyone processing meat at home.