The Butcher's Cleaver: Complete Guide to the Heavy Rectangular Knife
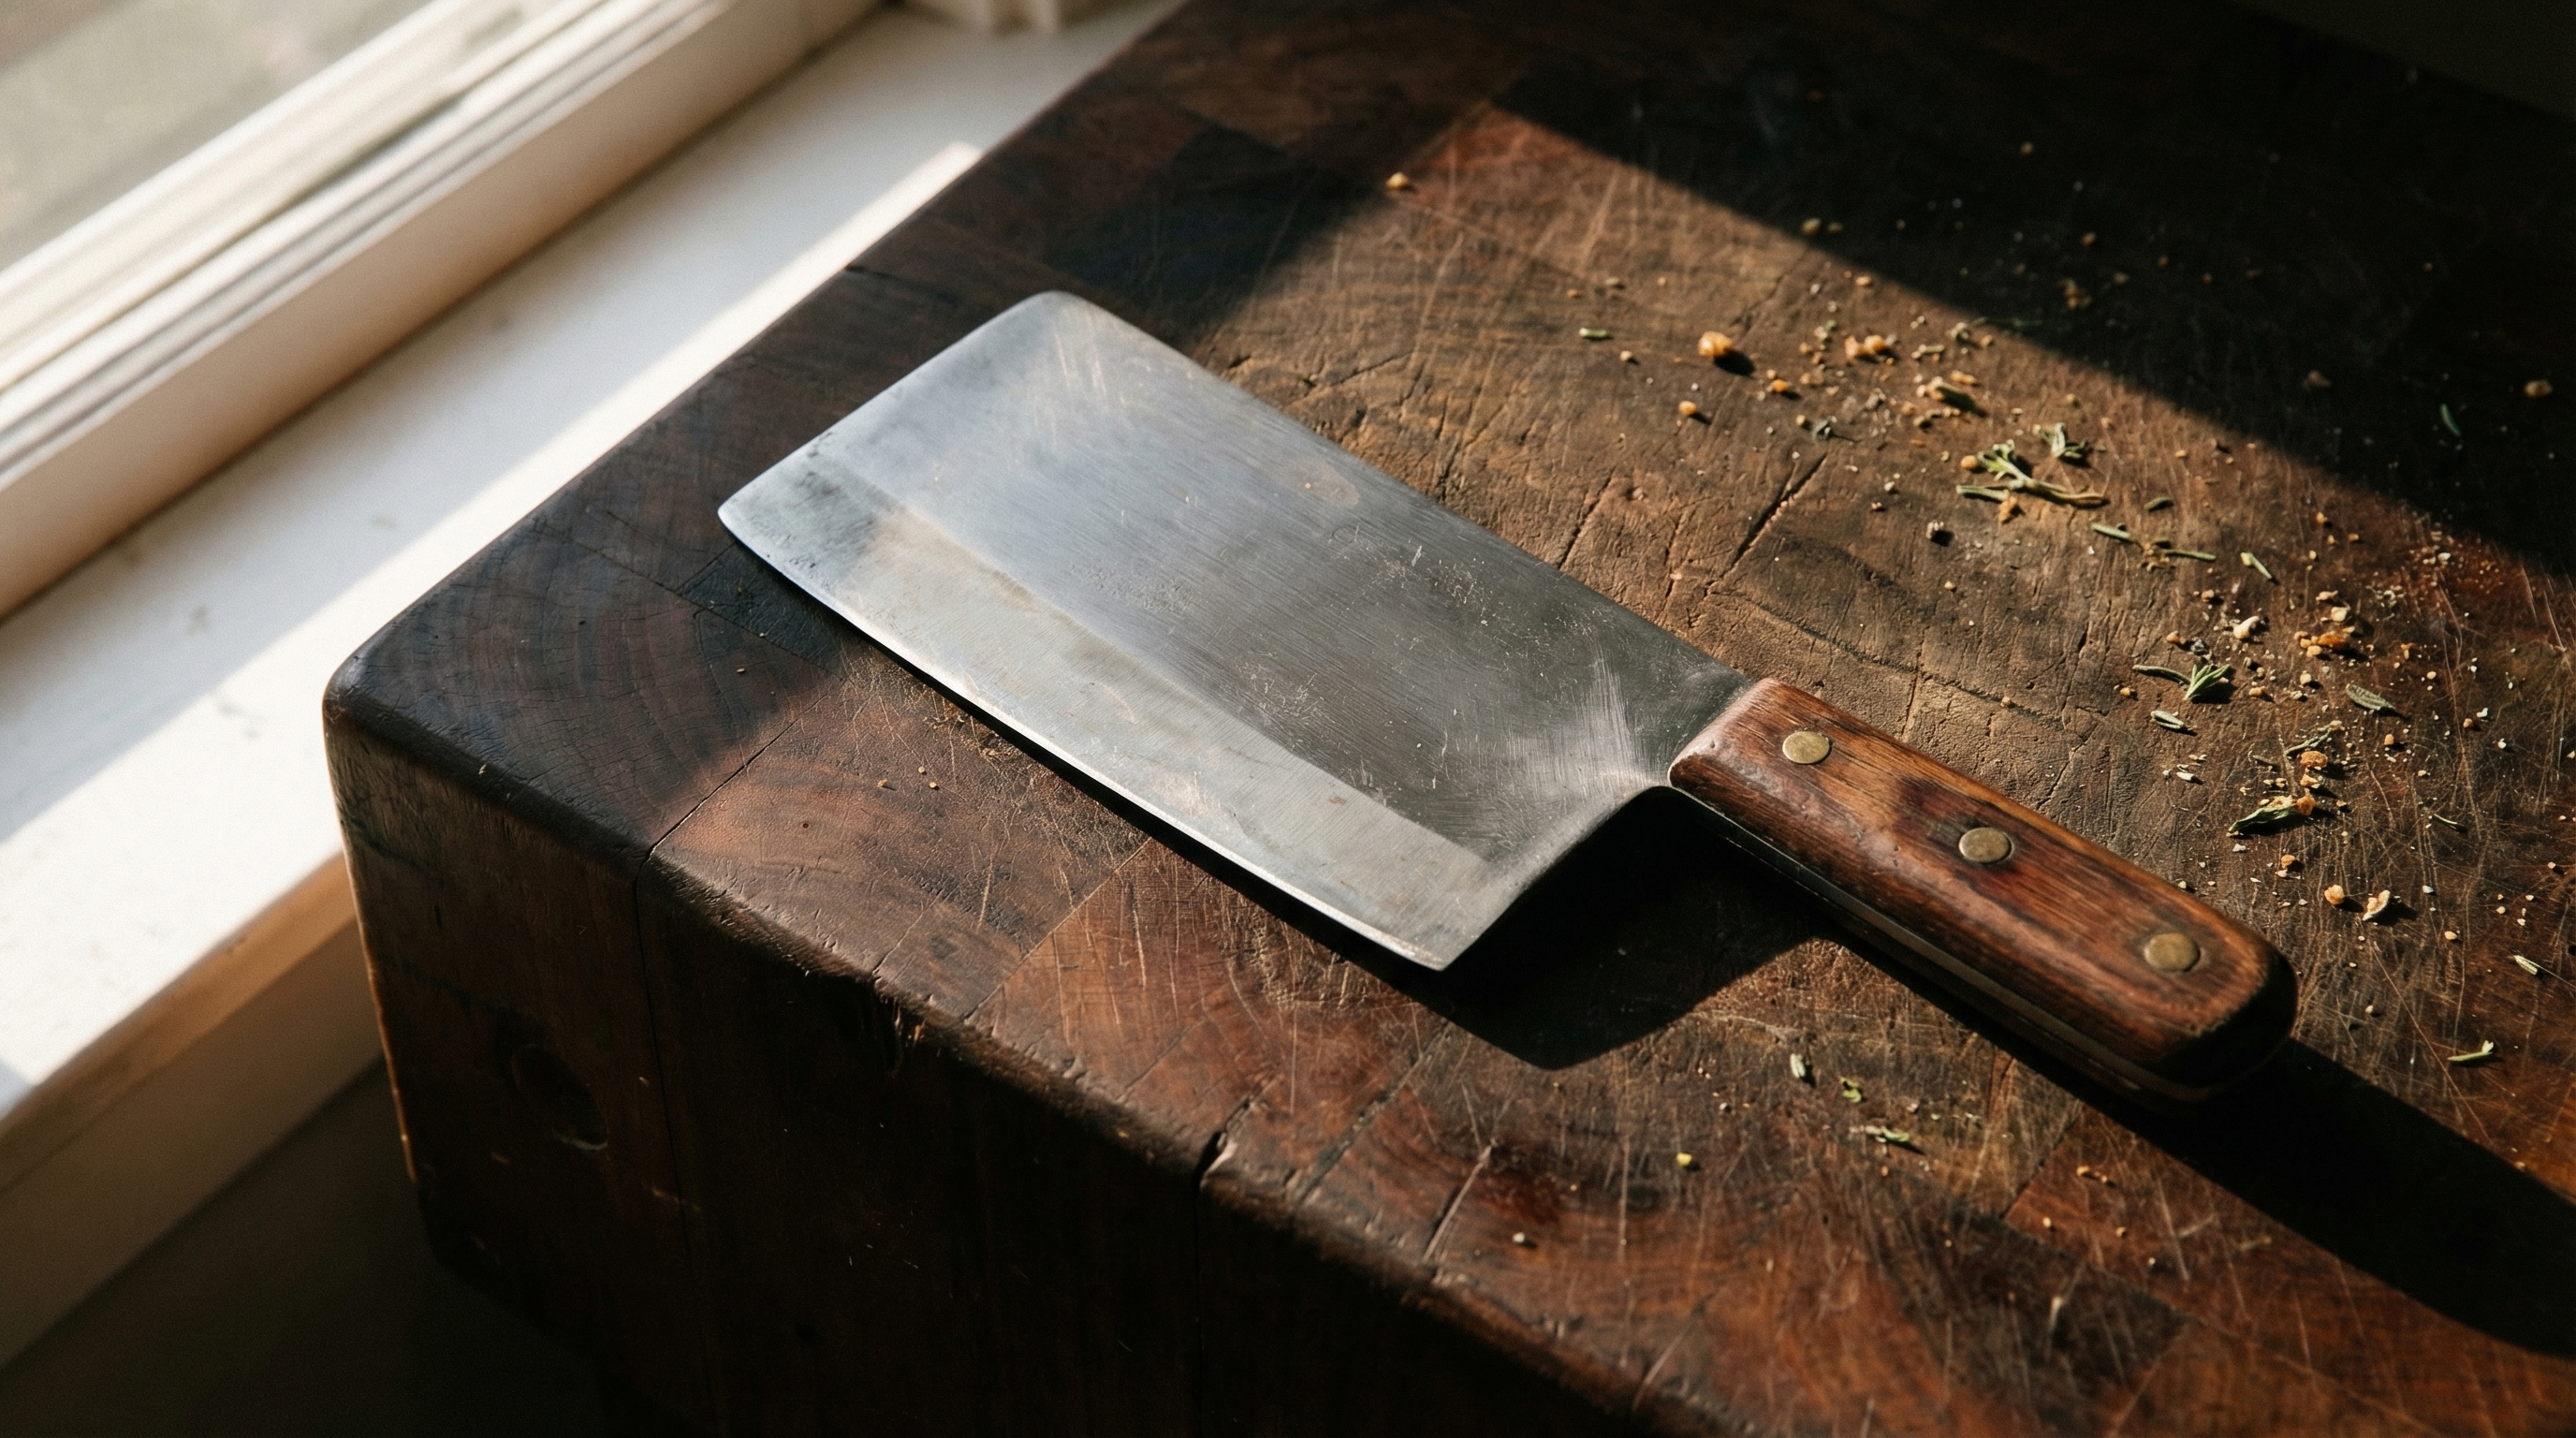
Walk into any professional butcher shop and you'll spot it immediately—that imposing rectangular blade hanging from the rack. The butcher's cleaver is probably the most recognizable meat-cutting tool, yet it's also the most misunderstood. Hollywood has turned it into a symbol of violence, while home cooks often think it's just for "chopping through bones." Neither view captures what this tool actually does in the hands of a skilled butcher.
I've been using a cleaver for thirty years, and I still see apprentice butchers make the same mistakes: swinging it like an axe, using it on the wrong materials, or worse—being afraid of it entirely. The truth is simpler than you'd think: a cleaver is a specialized tool designed to let gravity and weight do the cutting work. Master the basics, respect its purpose, and you'll wonder how you ever broke down chickens or portioned ribs without one.
Let me walk you through everything I've learned about selecting, using, and maintaining this essential tool.
What Is a Butcher's Cleaver?
A butcher's cleaver is a large, heavy knife with a thick rectangular blade designed primarily for cutting through bones and cartilage. Unlike other butcher knives that rely on sharp edges and cutting technique, a cleaver's effectiveness comes from its mass and geometry. The blade typically measures 7-8 inches long and weighs between 2-3 pounds—that weight is intentional, not accidental.
Key characteristics that define a cleaver:
- Rectangular blade shape — The signature profile provides a large cutting surface and distributes impact force
- Thick blade spine — Usually 3-5mm thick (thicker than any other kitchen knife) to withstand impact without chipping
- Substantial weight — 2-3 pounds is standard; the mass provides cutting force through momentum
- Squared-off tip — Unlike pointed knives, the cleaver's blunt tip prevents accidental punctures
- Full tang construction — The blade extends through the entire handle for strength and balance
- Large handle — Designed for a secure grip during forceful chopping motions
The cleaver's design philosophy is fundamentally different from other knives. Where a boning knife requires a sharp edge and technique, a cleaver requires proper weight and controlled dropping motion. You're not slicing—you're using gravity and mass to separate bones at joints and cut through softer bones and cartilage.
Types of Butcher's Cleavers
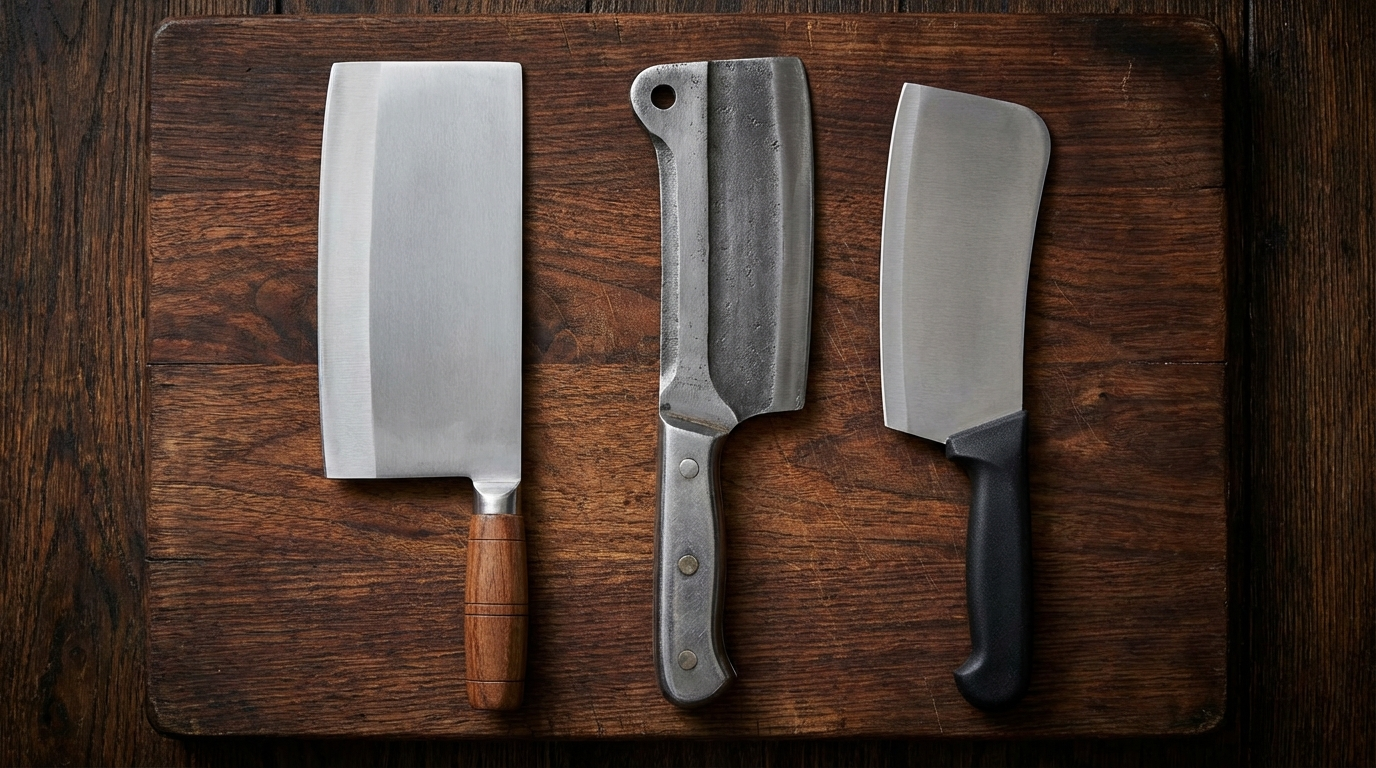
Not all cleavers are created equal. The term "cleaver" actually covers several distinct blade styles, each optimized for different tasks. Understanding these differences prevents tool misuse and extends blade life.
1. Chinese Cleaver (Cai Dao)
Weight: 8-12 oz
Blade thickness: 2-3mm
Primary use: Vegetables, boneless meats, and general prep
Despite its imposing rectangular shape, the Chinese cleaver is actually a general-purpose kitchen knife—more like a chef's knife than a bone chopper. It's much lighter and thinner than a Western meat cleaver, with a sharp edge suitable for fine slicing, dicing, and chopping vegetables. Many Chinese cooks use this as their only knife.
Not suitable for: Cutting through any bones. The thin blade will chip or break if used for bone work.
2. Meat Cleaver (Western-Style)
Weight: 1.5-2 pounds
Blade thickness: 3-4mm
Primary use: Chicken bones, ribs, cartilage
This is what most people think of as "the butcher's cleaver"—a heavy rectangular blade designed for chopping through poultry bones, spare ribs, and softer joints. The blade is thick enough to withstand repeated impact but maintains a relatively sharp edge for clean cuts. This is the most versatile cleaver for home butchering tasks.
Can handle: All poultry bones, pork ribs, lamb chops, cartilage, and small joints
Cannot handle: Large beef bones, frozen meat, or hard pork/beef leg bones
3. Bone Cleaver (Heavy-Duty)
Weight: 2.5-3.5 pounds
Blade thickness: 4-6mm
Primary use: Heavy bone cutting, splitting large carcasses
The true heavyweight champion—built for serious bone work that would destroy a standard meat cleaver. These cleavers have extremely thick spines and may have a slightly curved edge. Professional butchers use these for splitting pig heads, cutting through large joints, and breaking down hanging carcasses. The edge doesn't need to be razor-sharp; the mass and thickness do the work.
Overkill for: Most home butchering tasks. Unless you're regularly processing whole animals, a standard meat cleaver is more practical.
4. Vegetable Cleaver (Japanese Nakiri Style)
Weight: 6-8 oz
Blade thickness: 1.5-2mm
Primary use: Vegetables only
The nakiri has a rectangular profile similar to a cleaver but is actually a specialized vegetable knife. It's thin, light, and maintains an extremely sharp edge. The flat edge allows you to cut all the way through vegetables in one motion without rocking the blade. Some Western manufacturers market these as "vegetable cleavers," which confuses consumers who try to use them on bones.
Never use for: Any bones or tough connective tissue. This is a precision vegetable knife, not a bone chopper.
When to Use a Cleaver vs. Other Knives
One of the most common mistakes I see is reaching for a cleaver when another knife would do a better job—or worse, avoiding the cleaver for tasks where it's the only safe option. Here's how to choose correctly:
Use a Cleaver For:
- Breaking down whole chickens — Chopping through the backbone, splitting the breast, separating leg quarters
- Portioning ribs — Cutting spare ribs or baby back ribs into individual bones
- Chopping chicken backs — For stock preparation where you want bone pieces, not careful separation
- Splitting small birds — Quail, Cornish hens, duck backbones
- Cutting through cartilage — The thick blade won't flex or chip like thinner knives
- Making bone-in cuts — Pork chops from a loin, lamb chops from a rack (if you don't have a bandsaw)
- Breaking joints — Separating shoulder joints, hip joints, and knuckles on smaller animals
- Chopping bones for stock — Creating marrow bone pieces, splitting knuckles
Use Another Knife For:
- Large beef bones — Use a bandsaw. Trying to cleaver through a beef femur will damage the blade or cause injury
- Frozen meat — The impact on frozen material can crack even a heavy cleaver. Thaw first or use a saw
- Precision boning work — A boning knife will waste less meat and give you more control
- Slicing or portioning boneless meat — A breaking knife or chef's knife is more appropriate
- Trimming fat or silverskin — The cleaver's weight and thick blade make detail work difficult
- Filleting — You need blade flexibility that a cleaver can't provide
The general rule: If you're cutting through bone (separating pieces), use a cleaver. If you're cutting around bone (removing meat), use a boning knife. If you're cutting boneless meat, use a slicing or chef's knife.
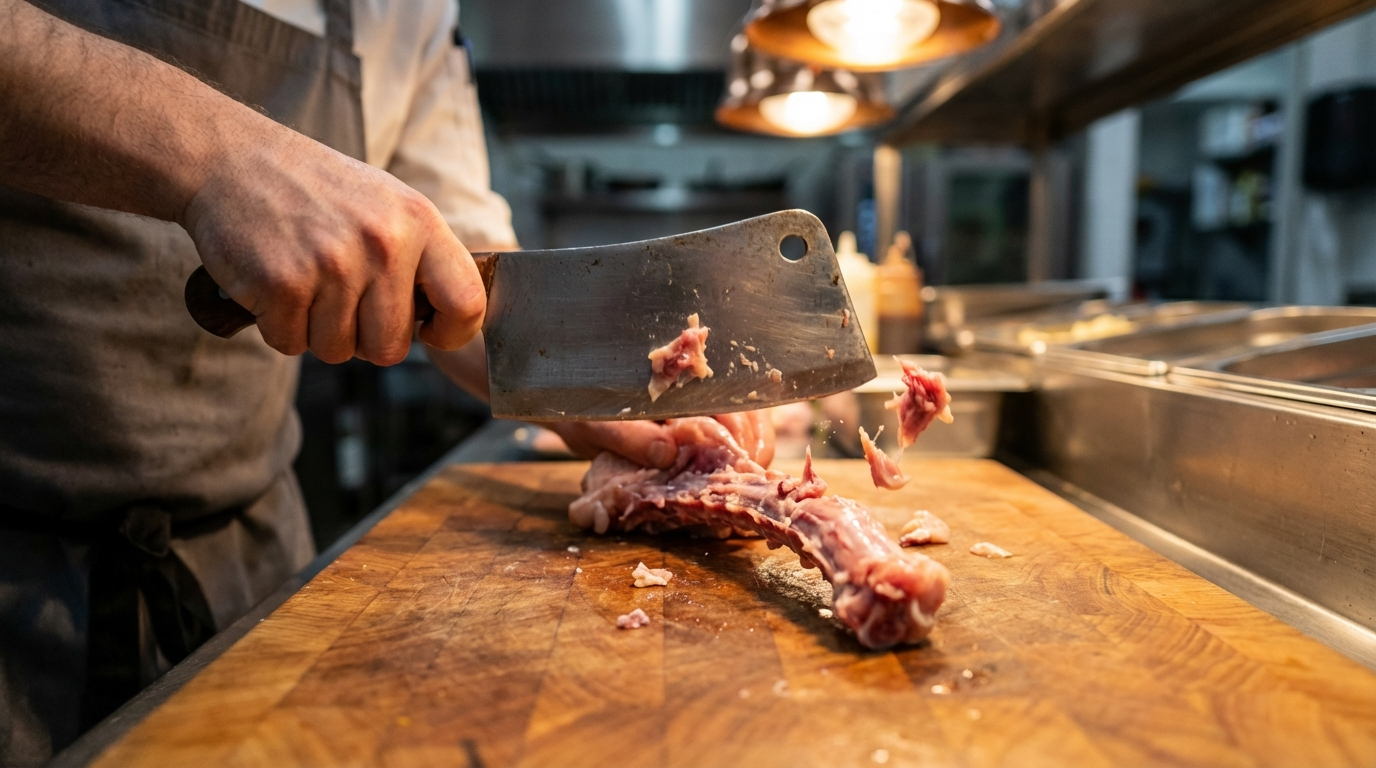
Proper Cleaver Technique
Cleaver technique is completely different from other knife skills. The motion isn't slicing, sawing, or carving—it's a controlled drop. Master this fundamental motion and you'll be safer and more efficient.
The Basic Chop
Step 1: Positioning
Stand with your feet shoulder-width apart, body angled slightly toward your non-dominant side. The cutting board should be at a comfortable height—typically just below your bent elbow. Never work on a surface that's too low; you'll strain your back and lose control.
Step 2: Grip
Hold the handle firmly but not in a death grip. Your index finger should extend slightly down the handle (not onto the blade spine like a chef's knife grip). The cleaver's weight requires a secure hold that won't slip, but tension will tire your hand quickly.
Step 3: Marking the Cut
Place the blade exactly where you want to cut. This is critical—you're committing to this position. Line up the blade perpendicular to the bone or joint, checking from both angles. On chicken, look for the joint space; on ribs, find the space between bones.
Step 4: The Drop
Lift the cleaver 6-8 inches above the cutting surface—no higher. Don't wind up like you're swinging an axe. Let gravity pull the blade down while you guide it straight. The weight alone will cut through chicken bones and cartilage. Add only slight downward pressure with your arm; don't push hard.
Step 5: Follow-Through
Let the blade drop all the way through until it contacts the cutting board (which should be thick enough to withstand impact). Don't stop the motion early or you'll get a half-cut that requires rocking the blade or a second chop. Clean, complete cuts in one motion are the goal.
Advanced Technique: The Mallet-Assist
For tougher jobs where the blade doesn't cut clean through on the first drop (like splitting a pork shoulder chop or cutting dense cartilage), you can use a meat mallet to assist:
- Place the cleaver edge exactly where you want to cut
- Make your standard drop motion
- If the blade stops partway through, leave it in place
- Strike the blade spine (not the edge!) with a meat mallet or rubber mallet
- The additional force drives the blade through without requiring a second swing
This technique is safer than trying to muscle the cut with a harder swing. The blade is already positioned correctly; you're just adding force in a controlled way.
What NOT to Do
- Don't swing — The cleaver isn't an axe. Swinging creates uncontrolled force that can miss your target or cause the blade to twist on impact
- Don't rock — If the blade doesn't cut through on the first drop, pull it out and try again (or use the mallet assist). Rocking a stuck cleaver is how blades chip and hands get cut
- Don't chop in mid-air — Always have the meat stable on the cutting surface. Holding chicken in one hand while chopping with the other is a good way to need stitches
- Don't force cuts — If the cleaver isn't cutting through, you're either using it on the wrong material (too hard) or the blade is dull
- Don't use forward/back motion — Cleavers don't slice or saw. The motion is straight up and down
Safety Guidelines
A 3-pound blade demands respect. These aren't minor precautions—they're based on decades of professional use and, unfortunately, learning from mistakes.
The Non-Negotiables
1. Stable cutting surface
Use a thick wooden or bamboo cutting board that won't slide. Place a damp towel underneath if your board moves at all. A board that shifts mid-chop will cause the cleaver to glance off target—potentially into your hand or wrist.
2. Clear landing zone
Never have your non-knife hand anywhere near the cutting path. When chopping through a chicken back, both hands should be holding the cleaver or the non-knife hand should be completely behind the blade (stabilizing the chicken from the back). There's no scenario where fingers should be in front of or beside the cutting line.
3. Controlled environment
Clear your work area of clutter. You need space to move the cleaver safely. Don't work with people crowding you or pets underfoot. One distraction during a chop can cause disaster.
4. Know your materials
Before chopping, confirm the bone is appropriate for cleaver work. Push on it with your thumb—if it doesn't yield at all, it's too hard for a cleaver. Chicken bones should have slight give; pork ribs might not give but they're thin enough. A beef femur won't budge—that's your signal to use a saw.
5. One motion, one cut
If the cleaver doesn't cut through on the first drop, don't try to force it through with multiple hits from the same starting position. Pull the blade out, reposition if needed, and try once more. If it still doesn't cut through, the material is too hard or your blade is too dull.
Common Injury Scenarios (And How to Avoid Them)
Scenario 1: The Bounce
You chop through a chicken back but the blade hits hard bone at an angle, bounces off, and strikes your stabilizing hand.
Prevention: Always stabilize from behind the cutting line, never from the sides. If the blade bounces, it should bounce away from your body, not toward it.
Scenario 2: The Slide
You're chopping ribs and the meat slides on the cutting board, causing your blade to miss and strike the edge of the board or your counter.
Prevention: Pat meat dry before cutting. Use a textured cutting board. Work slowly—you're not in a race.
Scenario 3: The Overswing
You lift the cleaver too high for more force, lose control of the blade angle, and make an off-target cut.
Prevention: Never lift higher than 8 inches. If the blade won't cut through from that height, the problem isn't height—it's material hardness or blade sharpness.
Choosing the Right Cleaver
Buying a cleaver isn't like buying a chef's knife where brand and steel type matter immensely. Because the cleaver relies on mass and geometry rather than edge retention, you can get excellent performance from mid-range options. Here's what actually matters:
Weight and Balance
Pick up the cleaver and hold it as you would when chopping. The balance point should be just forward of the handle—you want the blade's weight to be obvious but not so front-heavy that your hand tires after three cuts. A 2-2.5 pound cleaver is ideal for most home butchering. Heavier isn't always better; you lose control past 3 pounds unless you're very experienced.
Blade Thickness
Check the spine thickness. For a standard meat cleaver, you want 3-4mm. Thinner than 3mm and you risk chipping on harder materials. Thicker than 5mm and you're into heavy-duty bone cleaver territory, which is overkill for poultry and ribs.
Handle Construction
Full tang construction is non-negotiable. The blade should run through the entire length of the handle, visible as metal sandwiched between handle scales. Half-tang or rat-tail construction will fail eventually under the impact forces of cleaver work. Check that the handle is riveted or pinned securely—no glue-only construction.
Steel Type
Surprisingly, this matters less than with other knives. High-carbon stainless steel (like X50CrMoV15 or similar) works fine. You don't need exotic Japanese steel or Damascus blades. The cleaver's edge doesn't need to hold micro-precision; it needs to withstand impact without chipping. Medium hardness steel (54-58 HRC) is actually preferable to very hard steel (60+ HRC) because it's tougher.
Recommended Options
Budget ($30-50): Winco or Dexter-Russell commercial cleavers. These are workhorses in restaurant kitchens—not fancy, but reliable and rebuildable.
Mid-Range ($80-150): Wüsthof or Victorinox cleavers. Better handle ergonomics and slightly better steel, but the functional difference is minimal.
Premium ($200+): Chinese brands like Shibazi or Japanese-style heavy nakiri. Only worth it if you're doing high-volume butchering or want a collectible tool. You're paying for craftsmanship, not performance.
My recommendation: Start with a Dexter-Russell 8" cleaver ($40-50). If you use it weekly for a year and wish it were better, upgrade then. Most home butchers will find this cleaver does everything they need.
Maintenance and Care
Cleaver maintenance is simpler than other knives because you're not chasing razor sharpness. Here's how to keep your cleaver functional for decades:
Sharpening
A cleaver doesn't need to be sharp in the same way a boning knife does. You're looking for a clean, burr-free edge at about 20-25 degrees per side. You should be able to slice paper but not shave hair. Over-sharpening actually makes the edge more fragile.
Sharpening frequency: Every 3-4 months with moderate home use (weekly chicken breakdowns, occasional rib portioning). Professional butchers sharpen more frequently, but they're also doing much higher volume.
Method: Use a coarse stone (400-600 grit) to establish the edge, then a medium stone (1000 grit) to refine. Skip the fine polishing stones—you don't need them. Work in sections along the long edge, maintaining consistent angle.
Cleaning
Wash immediately after use with hot water and dish soap. Don't leave a cleaver sitting with bone fragments and fat drying on it—this leads to bacterial buildup and can cause rust on carbon steel blades. Dry thoroughly, especially along the spine and where the blade meets the handle.
Never put a cleaver in the dishwasher. The high heat can loosen handle fasteners, and the harsh detergents can damage the blade finish. Plus, a 3-pound blade rattling around with your wine glasses is a recipe for disaster.
Storage
Cleavers are heavy, so standard magnetic knife strips might not hold securely. Better options:
- Wall-mounted cleaver rack — Horizontal pegs that support the weight properly
- Dedicated drawer slot — With a blade guard to protect the edge and prevent accidents
- Hanging loop — Many cleavers have a hole in the spine for hanging; use a heavy-duty hook
Don't store in a knife block unless it's specifically designed for cleavers—the blade is too thick and wide for standard slots.
Rust Prevention
If your cleaver is carbon steel (not stainless), it will rust without care. After cleaning and drying, apply a light coat of food-grade mineral oil to the blade. Wipe off the excess—you want a thin protective layer, not a dripping blade. Store in a dry area with good air circulation.
Common Questions
Can I use a cleaver on frozen meat?
No. The impact force required to cut frozen material can crack even a heavy-duty cleaver, and the risk of the blade bouncing or shattering increases dramatically. Frozen meat is harder than many people realize—approaching the hardness of wood. Always thaw meat first or use a bandsaw designed for frozen materials.
How do I know if a bone is too hard for my cleaver?
Press firmly on the bone with your thumb. If there's no give at all—it feels like pressing on hardwood—it's too hard. Chicken and turkey bones should yield slightly. Pork ribs won't yield but they're thin enough that blade geometry compensates. Large beef bones (femurs, shanks, knuckles) are bandsaw territory.
My cleaver keeps getting stuck halfway through cuts. What's wrong?
Three possibilities: (1) Your blade is dull and needs sharpening. Even cleavers need sharp edges. (2) You're trying to cut material that's too hard for your cleaver. (3) You're not making clean, perpendicular cuts—angled cuts bind in the material. Check your blade sharpness first, then reassess your technique.
Can I use my chef's knife to cut through chicken bones?
Please don't. Chef's knives have thin, delicate edges optimized for slicing. Using them for bone work will chip the edge or, worse, cause the blade to slip and cause injury. If you don't have a cleaver, use kitchen shears to cut through chicken joints instead. It's slower but safer than risking a good knife.
Do I need different cleavers for different tasks?
Most home butchers can do everything with a single 2-2.5 pound meat cleaver. If you frequently process whole animals (pigs, lambs, goats), a heavy bone cleaver (3+ pounds) for splitting large joints becomes useful. If you never work with bones, a Chinese-style vegetable cleaver is more practical. But for breaking down chickens, portioning ribs, and general bone work, one good meat cleaver covers 95% of needs.
Final Thoughts
The butcher's cleaver has earned its place in meat cutting through centuries of use for one simple reason: it's the most effective tool for its specific job. You can't bone out a chicken with a cleaver, and you can't chop through a backbone with a boning knife. Each tool has its purpose.
Start with the basics: a quality 2-pound meat cleaver, proper technique focused on controlled drops rather than swinging, and respect for the tool's capabilities and limitations. Practice on chicken backs before moving to whole bird breakdowns. Learn to feel the difference between bone that yields and bone that's too hard. Keep your work area clear and your non-knife hand out of the cutting path.
Master these fundamentals and you'll find yourself reaching for the cleaver regularly—not because it's flashy or impressive, but because it makes certain jobs faster, safer, and cleaner than any alternative. That's the mark of a properly understood tool.
Now go break down some chickens. That's where real learning happens.
Frequently Asked Questions
What is the heavy rectangular knife used by butchers called?
The heavy rectangular knife used by butchers is called a cleaver (or meat cleaver). It typically weighs 2-3 pounds and features a thick rectangular blade designed for chopping through bones and cartilage. The blade is usually 7-8 inches long with a thick spine (3-5mm) that can withstand impact forces. Unlike other butcher knives that rely on sharp edges and technique, a cleaver uses its weight and mass to cut through chicken bones, ribs, and joints.
Can you use a cleaver on beef bones?
No, standard meat cleavers should not be used on large beef bones like femurs, shanks, or knuckles. These bones are too hard and dense for cleaver work—attempting to cut them will damage your blade or cause dangerous bouncing. Cleavers are designed for chicken bones, pork ribs, cartilage, and smaller joints. For beef bones, use a bandsaw or ask your butcher to cut them for you.
What is the difference between a cleaver and a Chinese cleaver?
A Chinese cleaver (cai dao) is much lighter (8-12 oz) with a thin blade (2-3mm) designed for vegetables and boneless meat prep—it is essentially a large chef's knife with a rectangular shape. A Western meat cleaver is a true bone-cutting tool, weighing 2-3 pounds with a thick blade (3-4mm) built to withstand the impact of chopping through bones. Despite similar appearances, they serve completely different purposes and should never be used interchangeably for bone work.
How do you properly use a butcher's cleaver?
Proper cleaver technique involves controlled drops, not swinging. Position the blade exactly where you want to cut, lift it 6-8 inches above the surface, and let gravity pull it down while you guide it straight. The weight alone cuts through chicken bones and cartilage—add only slight downward pressure. Always stabilize meat from behind the cutting line, never from the sides. Make one clean motion per cut; if the blade doesn't cut through on the first drop, reposition rather than forcing multiple strikes.
How often do you need to sharpen a cleaver?
Cleavers need sharpening every 3-4 months with moderate home use (weekly chicken breakdowns). Unlike precision knives, cleavers don't need razor sharpness—aim for a clean edge at 20-25 degrees that can slice paper but doesn't need to shave hair. Use coarse (400-600 grit) and medium (1000 grit) stones; skip fine polishing. Over-sharpening actually makes the edge more fragile for impact work.
More Expert Guides
How to Trim a Brisket: The Complete Butcher's Guide
Proper brisket trimming is the difference between a backyard experiment and competition-quality results. Here is the professional technique for shaping a whole packer brisket before it ever touches the smoker.
14 min readHow to Butcher a Whole Chicken: Step-by-Step Guide
Breaking down a whole chicken yourself saves 40-50% compared to buying individual parts. Here is the professional technique for turning one bird into perfectly portioned pieces.
14 min readHome Butchering Safety Guide: Essential Protocols for Safe Meat Processing
Learn professional butchering safety protocols from a master butcher with 25+ years of experience. Essential guidance for anyone processing meat at home.