The Butcher's Grip: Hand Position and Safety
In my years of training in Argentina and Spain, I learned that safety begins not with equipment, but with proper hand positioning and grip technique. "La seguridad empieza en las manos," my masters would say — safety begins in the hands. The butcher's grip is the foundation upon which all safe, effective butchery is built.
Improper grip leads to loss of control, which leads to accidents. More subtly, it reduces the precision that defines professional butchery. A proper grip provides both safety and the control necessary for quality work.
Basic Grip Principles
The Pinch Grip
The pinch grip is fundamental to safe and effective knife work:
- Thumb and Forefinger: Positioned on the blade, just forward of the bolster
- Remaining Fingers: Wrapped securely around the handle
- Control: Maximum control with minimal effort
- Feedback: Direct tactile feedback from the blade
This grip provides superior control during precision work and allows you to feel the blade's interaction with the material being cut.
Full Handle Grip
For heavy-duty tasks requiring power:
- All Fingers: Fully wrapped around the handle
- Thumb Position: Along the spine of the knife for control
- Power Application: Maximum force application
- Stability: Enhanced control during heavy cuts
Hand Positioning Fundamentals
The Claw Position
Protecting the non-knife hand is crucial:
- Finger Curl: Curl fingertips under, exposing knuckles only
- Knuckle Position: Knuckles should face the blade
- Push Protection: If the blade slips, it contacts knuckles not fingertips
- Stability: Provides stable platform for knife guidance
Guidance Techniques
Use your non-knife hand to guide the blade:
- Side Support: Guide the blade's side for direction
- Distance Control: Maintain consistent cutting distance
- Stability: Keep material stable during cutting
- Speed Control: Regulate cutting pace
Advanced Grip Techniques
Power Grip
For tasks requiring maximum force:
- Full Contact: Handle fills entire palm
- Wrist Alignment: Straight line from forearm to blade
- Body Mechanics: Power from shoulders and core
- Control Focus: Emphasize control over raw force
Pinpoint Grip
For detailed, precise work:
- Minimal Contact: Only thumb and forefinger on blade
- Handle Support: Remaining fingers provide stability
- Micro-control: Maximum precision for detail work
- Feedback Sensitivity: Enhanced tactile awareness
Safety Protocols
Blade Awareness
Maintain constant awareness of blade position:
- Visual Tracking: Always know where the blade is
- Movement Planning: Plan cuts before executing
- Clear Path: Ensure safe movement path
- Stopping Distance: Know where the blade will stop
Hand Coordination
Coordinate both hands safely:
- Leading Hand: Non-knife hand moves first
- Blade Following: Knife follows the guiding hand
- Communication: Both hands work in harmony
- Emergency Stop: Know how to stop quickly
Common Grip Mistakes
Extended Fingers
The most common and dangerous error:
- Exposed Fingertips: Vulnerable to blade contact
- False Confidence: Appears to provide better control
- Accident Risk: High probability of injury
- Correction: Always curl fingertips under
Inconsistent Grip
Changing grip during a cut:
- Loss of Control: Inconsistent contact points
- Unpredictable Movement: Blade behavior becomes erratic
- Increased Risk: Higher accident probability
- Correction: Maintain consistent grip throughout cut
Insufficient Grip Pressure
Too loose a grip compromises control:
- Blade Slippage: Loss of cutting angle
- Inconsistent Cuts: Poor results and safety risk
- Compensatory Force: Tendency to apply more pressure
- Correction: Firm, consistent grip pressure
Task-Specific Grips
Heavy Cutting Tasks
For breaking down large cuts:
- Full Handle Grip: Maximum contact and control
- Shoulder Engagement: Power from upper body
- Stable Base: Firm footing and core engagement
- Controlled Force: Applied gradually
Precision Work
For detailed trimming and separation:
- Pinch Grip: Maximum tactile feedback
- Light Pressure: Let sharp edge do the work
- Control Focus: Precision over power
- Steady Movement: Smooth, consistent motion
Slicing Operations
For portioning and slicing:
- Guided Grip: Controlled by non-knife hand
- Rocking Motion: Consistent blade movement
- Consistent Pressure: Even force application
- Follow-Through: Complete cuts smoothly
Training and Development
Building Muscle Memory
Develop proper grip through practice:
- Slow Practice: Focus on grip before speed
- Repetition: Practice proper grip consistently
- Mirror Work: Observe your grip technique
- Feedback: Seek correction from experienced users
Progressive Development
Build grip strength and control gradually:
- Simple Tasks: Start with basic cuts
- Increasing Complexity: Add difficulty gradually
- Strength Building: Develop grip strength over time
- Endurance Training: Build stamina for extended work
Ergonomic Considerations
Hand Positioning
Maintain ergonomic positioning:
- Neutral Wrist: Avoid extreme angles
- Shoulder Alignment: Maintain natural posture
- Core Engagement: Support from central body
- Foot Positioning: Stable base of support
Tool Selection
Choose tools that support proper grip:
- Handle Size: Appropriate for your hand size
- Handle Texture: Provides secure grip when wet
- Balance: Proper weight distribution
- Comfort: No pressure points or discomfort
Safety Equipment
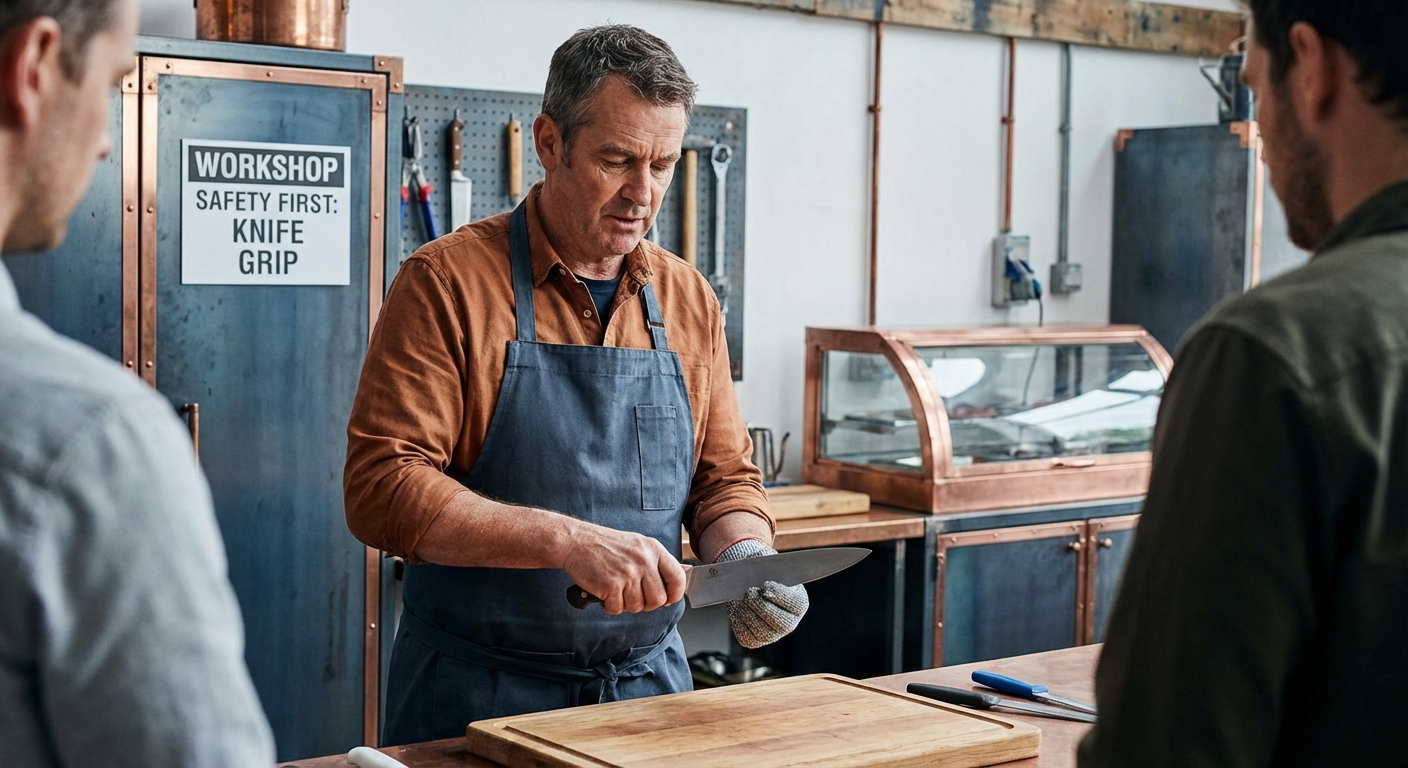
Cut-Resistant Gloves
Additional protection for the non-knife hand:
- Level Rating: Choose appropriate protection level
- Fit: Snug but not restrictive
- Dexterity: Allows tactile sensitivity
- Maintenance: Clean and inspect regularly
Creating Safe Habits
Pre-Work Routine
Establish safety routines:
- Grip Check: Verify proper grip position
- Tool Inspection: Check knife condition
- Workspace Review: Ensure safe working conditions
- Mental Preparation: Focus on safety and technique
During Work
Maintain safety throughout the process:
- Continuous Awareness: Monitor grip and blade position
- Regular Correction: Adjust grip as needed
- Focus Maintenance: Avoid distractions
- Break Recognition: Stop when fatigue occurs
Remember, in traditional carnicería, we say "La prisa mata más que el cuchillo" — haste kills more than the knife. Take time to establish proper grip and maintain it throughout your work. The few seconds spent ensuring proper hand position prevent accidents that could end careers or worse. Practice these fundamentals on quality cuts from The Meatery — proper grip technique paired with premium beef is the foundation of great butchery.
Frequently Asked Questions
What is the pinch grip and why is it important?
The pinch grip positions thumb and forefinger on the blade just forward of the bolster, with remaining fingers wrapped around the handle. It provides maximum control and tactile feedback during precision work, allowing for better safety and cutting accuracy.
How should I position my non-knife hand?
Use the claw position: curl fingertips under and expose only the knuckles. This protects vulnerable fingertips from the blade and provides a stable platform for guiding the knife. If the blade slips, it contacts knuckles rather than fingertips.
What are common grip mistakes to avoid?
Common mistakes include extended fingertips (most dangerous), inconsistent grip during cuts, insufficient grip pressure, and changing grip mid-cut. Always maintain the claw position with curled fingertips and consistent grip pressure.
When should I use different grip styles?
Use the pinch grip for precision work, full handle grip for heavy cutting tasks, and guided grip for slicing operations. Match your grip to the task requirements while maintaining safety protocols.
More Expert Guides
How to Trim a Brisket: The Complete Butcher's Guide
Proper brisket trimming is the difference between a backyard experiment and competition-quality results. Here is the professional technique for shaping a whole packer brisket before it ever touches the smoker.
14 min readHow to Butcher a Whole Chicken: Step-by-Step Guide
Breaking down a whole chicken yourself saves 40-50% compared to buying individual parts. Here is the professional technique for turning one bird into perfectly portioned pieces.
14 min readHome Butchering Safety Guide: Essential Protocols for Safe Meat Processing
Learn professional butchering safety protocols from a master butcher with 25+ years of experience. Essential guidance for anyone processing meat at home.