Frenching, Tying, and Presentation Cuts
In the refined carnicería of the Basque Country where I trained, presentation was not an afterthought — it was integral to the craft. "La belleza en la carne es una extensión del respeto al animal," my master taught me — beauty in the meat is an extension of respect for the animal. Frenching, trussing, and presentation cuts are where butchery becomes artistry.
These techniques serve dual purposes: aesthetic enhancement and functional improvement. A properly frenched rack of lamb presents elegantly while facilitating even cooking. Correct trussing ensures uniform cooking and professional presentation. Thoughtful presentation cuts demonstrate skill and care.
Understanding Frenching
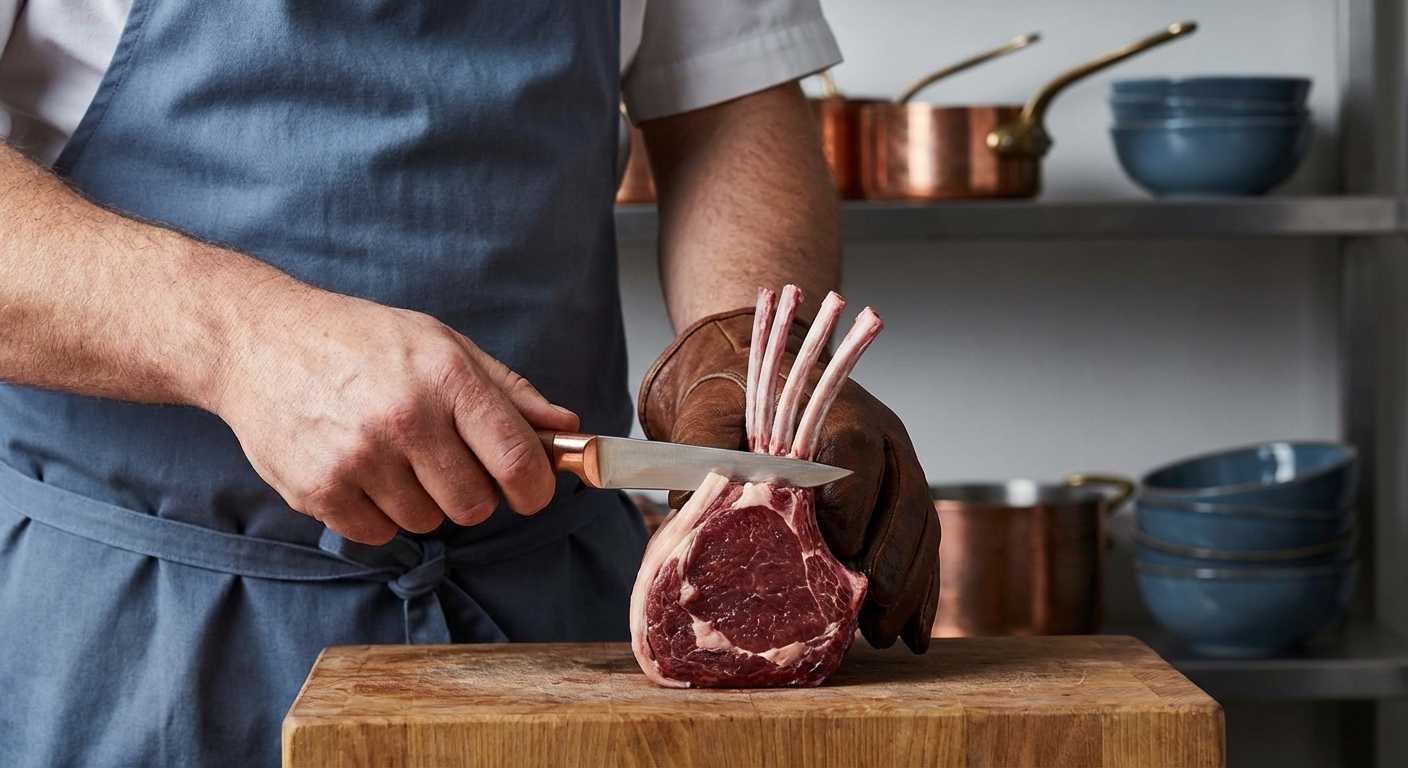
Frenching is the process of cleaning and shaping bones to expose them for presentation. The technique removes meat, fat, and connective tissue from the bone ends, creating a clean, white appearance.
Tools for Frenching
Specialized tools facilitate clean frenching:
- Frenching Knife: Curved blade designed specifically for following bone contours
- Channel Knife: For detailed work around tight curves
- Small Breaking Knife: For initial meat removal
- Flexible Boning Knife: For precision work and cleaning
Knives must be extremely sharp for clean cuts without tearing.
Frenching Technique Fundamentals
- Initial Preparation: Remove large pieces of meat and fat from the bone area
- Angle Control: Hold the knife at a 30-45 degree angle to the bone
- Direction of Cut: Work from the meaty portion toward the bone end
- Consistent Pressure: Apply steady, moderate pressure while following the bone contour
- Multiple Passes: Gradually clean the bone with successive cuts
Frenching Different Cuts
Rack of Lamb Frenching
The classic frenching application:
- Begin by removing the chine bone if still attached
- Cut along the inside curve of each rib bone
- Remove the intercostal meat and membrane
- Clean the bones to about 2-3 inches from the eye muscle
- Scrape the bones clean of any remaining tissue
- Trim the meat to create a uniform "eye" of meat
The result should be clean, white bones extending from a perfectly formed eye of meat.
Ribeye Steak Frenching
For premium presentation:
- Remove the fat cap and excess fat from the bone side
- Clean the rib bone, leaving 1-2 inches of exposed bone
- Shape the meat to create a clean, round eye
- Remove any silver skin or excess connective tissue
- Ensure the bone is clean and white for presentation
Pork Chop Frenching
Less extensive than lamb, but still effective:
- Remove excess fat from around the rib bone
- Clean the bone surface, removing any adhering meat
- Shape the meat portion for uniform appearance
- Ensure clean separation between bone and meat
Trussing Techniques
Trussing uses butcher's twine to secure meat for even cooking and attractive presentation.
Materials and Tools
- Butcher's Twine: Heavy, untreated cotton twine (3-ply minimum)
- Twine Length: Approximately 3 times the circumference of the item
- Needle: Large-eye needle for difficult-to-reach areas
Basic Trussing Patterns
The Simple Loop
For securing stuffing in poultry:
- Insert twine through the neck opening
- Bring ends together and tie securely
- Ensure stuffing is contained without over-tightening
The Spiral Truss
For securing roasts:
- Start at one end of the roast
- Wrap twine around the roast in spiral pattern
- Overlap each wrap by about 50%
- Secure the end with a double knot
The Net Truss
For large, irregular items:
- Create a series of parallel loops around the item
- Add perpendicular loops to create a net pattern
- Tighten gradually, ensuring even tension
- Secure all ends with knots
Advanced Presentation Cuts
Scoring Techniques
Surface scoring enhances presentation and cooking:
- Parallel Cuts: Even spacing for visual appeal
- Cross-Hatch Pattern: Diamond pattern for sophisticated look
- Depth Control: Penetrate only the fat layer, not the meat
- Spacing Consistency: Maintain even distance between cuts
Medallion Formation
Creating uniform portions:
- Section the roast into equal thickness pieces
- Trim each piece to create uniform diameter
- Shape with curved knife for smooth edges
- Ensure consistent thickness for even cooking
Tenderizing Cuts
Controlled cuts for specific preparations:
- Butterfly Cut: Opening thick cuts for even cooking
- Pounded Thin: Achieving uniform thickness for quick cooking
- Diagonal Slicing: Creating larger surface area for marinades
Proper Tying Methods
Securing Stuffed Items
For stuffed roasts or poultry:
- Begin by securing the opening with a simple loop
- Add perpendicular ties every 2 inches
- Ensure stuffing remains contained during cooking
- Allow enough room for expansion during cooking
Securing Irregular Shapes
For items that don't maintain shape naturally:
- Identify the most unstable areas
- Apply ties at these critical points first
- Add additional ties for overall stability
- Check that ties don't compress the meat too tightly
Hygiene and Food Safety
Maintain safety standards during presentation work:
- Clean Twine: Use only food-grade, clean twine
- Hand Hygiene: Wash hands frequently during the process
- Cross-Contamination: Prevent contact between raw and cooked surfaces
- Storage: Properly store prepared items at safe temperatures
Timing Considerations
Plan presentation work appropriately:
- Advance Preparation: Frenching can be done 1-2 days ahead
- Trussing Timing: Complete just before cooking
- Storage: Keep refrigerated until cooking time
- Quality: Perform presentation work when focused and unhurried
Quality Assessment
Evaluate presentation work:
- Visual Appeal: Clean lines, uniform appearance
- Functionality: Proper cooking performance
- Efficiency: Minimal waste during preparation
- Safety: Secure trussing without compromising cooking
Common Mistakes to Avoid
Prevent these errors:
- Over-tightening: Restricts heat penetration and cooking
- Inconsistent Spacing: Creates uneven cooking
- Poor Knife Maintenance: Dull knives tear rather than cut cleanly
- Rushing: Presentation work requires patience and precision
Practice Exercises
Develop skills progressively:
- Basic Frenching: Start with simple bone structures
- Trussing Practice: Work with vegetables before meat
- Pattern Recognition: Study professional examples
- Consistency Training: Focus on repetition and muscle memory
In traditional carnicería, we understand that presentation reflects the respect we have for both the animal and the diner. These techniques honor that tradition while enhancing the final product. The care invested in presentation demonstrates the artisan's commitment to excellence — especially when working with something as special as Japanese A5 wagyu from The Meatery.
Frequently Asked Questions
What is frenching and why is it done?
Frenching is the process of cleaning and shaping bones to expose them for presentation. It removes meat, fat, and connective tissue from bone ends, creating a clean, white appearance that enhances visual appeal and facilitates even cooking.
How do I properly truss a roast?
Start by securing the most unstable areas with butcher's twine. Add perpendicular ties every 2 inches, ensuring even tension without over-compression. Complete just before cooking and check that the trussing allows for proper heat penetration.
What type of twine should I use for trussing?
Use heavy, untreated cotton butcher's twine (3-ply minimum). Avoid synthetic materials that may melt during cooking. The twine should be food-grade and strong enough to hold the meat's shape during cooking.
Can I prepare frenched items in advance?
Yes, frenching can be done 1-2 days in advance. Keep refrigerated and covered to prevent drying. Complete trussing and final preparations just before cooking for best results.
More Expert Guides
How to Trim a Brisket: The Complete Butcher's Guide
Proper brisket trimming is the difference between a backyard experiment and competition-quality results. Here is the professional technique for shaping a whole packer brisket before it ever touches the smoker.
14 min readHow to Butcher a Whole Chicken: Step-by-Step Guide
Breaking down a whole chicken yourself saves 40-50% compared to buying individual parts. Here is the professional technique for turning one bird into perfectly portioned pieces.
14 min readHome Butchering Safety Guide: Essential Protocols for Safe Meat Processing
Learn professional butchering safety protocols from a master butcher with 25+ years of experience. Essential guidance for anyone processing meat at home.