How to Debone a Pork Loin: Step-by-Step Butchery Guide
How to Debone a Pork Loin: Step-by-Step Butchery Guide
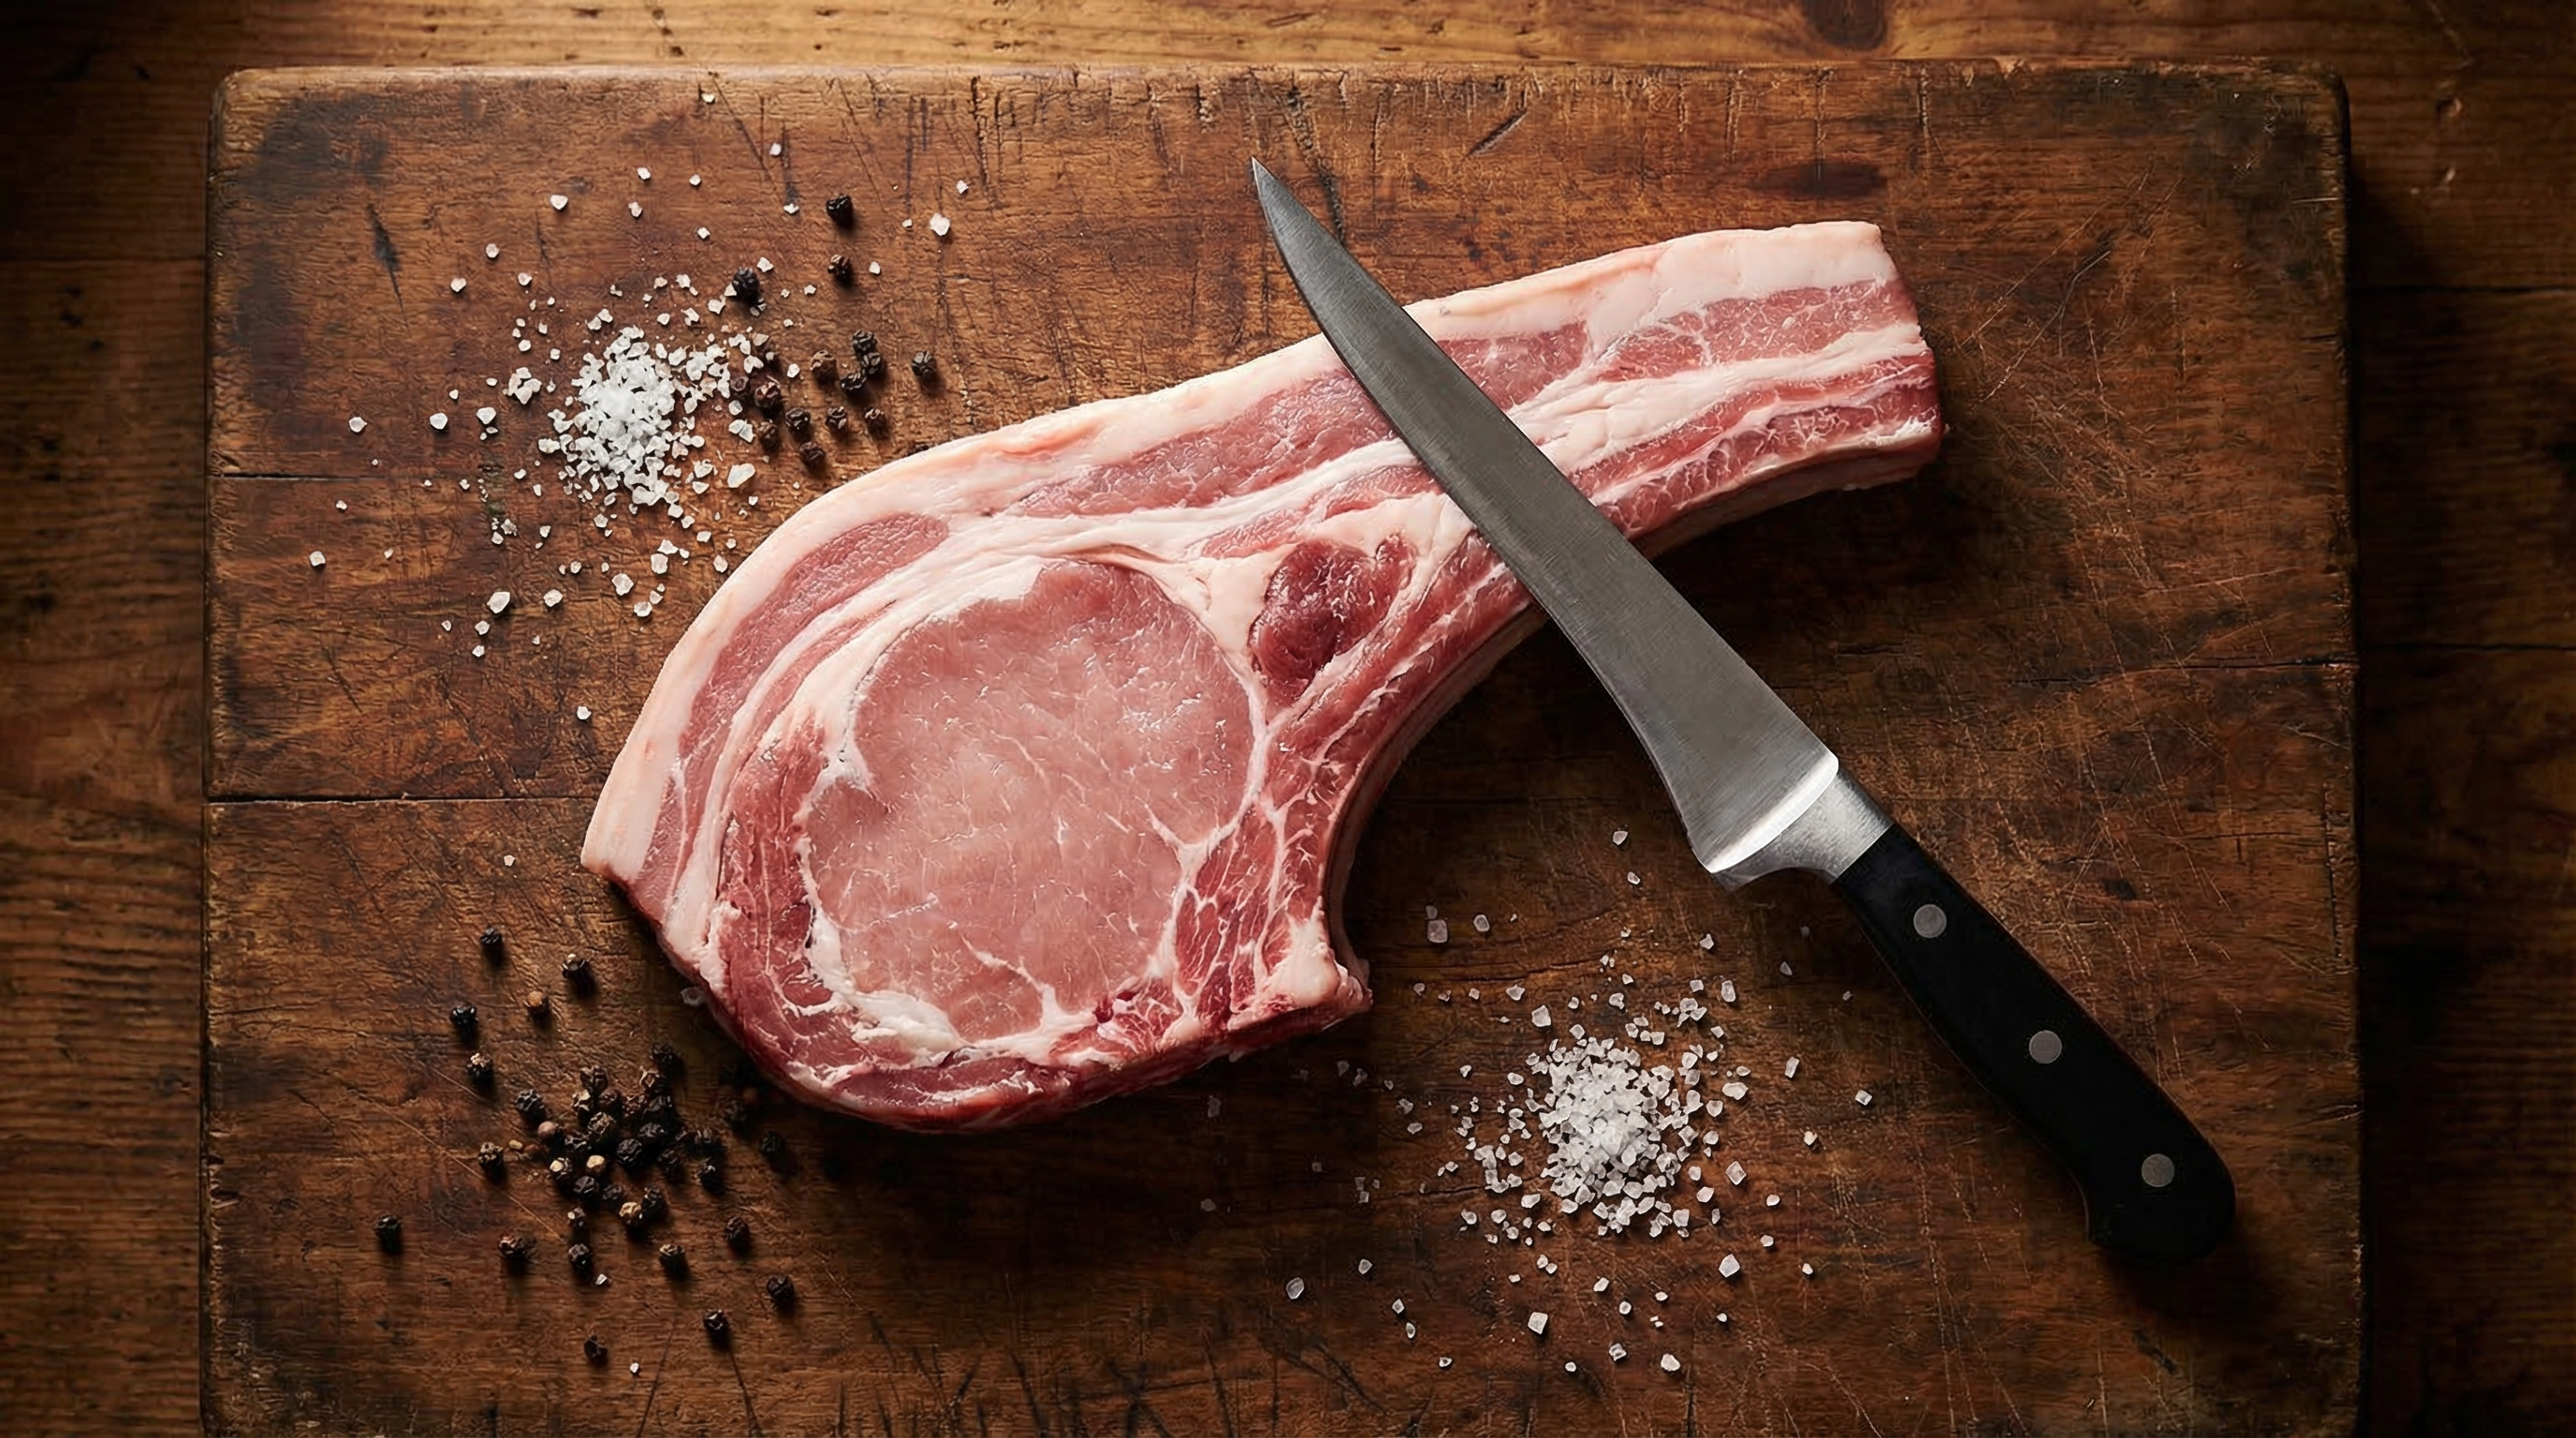
A bone-in pork loin is one of the best values at the butcher counter. You get the loin eye, the back ribs, and often a portion of the tenderloin — all in one primal cut. The problem is that most home cooks do not know how to break it down, so they either pay a premium for boneless roasts or skip the cut entirely.
Deboning a pork loin is not difficult. It requires a sharp boning knife, some patience, and an understanding of the bone structure. Once you know where the bones are and how they connect, the knife does the work. You end up with a boneless loin roast you can season however you want, plus a rack of baby back ribs that would otherwise cost you eight to twelve dollars a pound on its own.
I have deboned thousands of pork loins over three decades of butchery. This guide covers the entire process from understanding the anatomy to trimming and tying the finished roast. Whether you are working with a whole loin or a center-cut section, the technique is the same.
Understanding Pork Loin Anatomy
Before you start cutting, you need to understand what you are working with. A pork loin is a primal cut from the back of the pig, running from the shoulder to the hip. A whole bone-in loin can weigh anywhere from 14 to 20 pounds and includes several components:
- Loin eye (longissimus dorsi). This is the large, lean cylinder of meat that runs the length of the loin. It is what you are after when you debone — the boneless roast, the center-cut chops, the pork medallions.
- Back ribs. These are the curved rib bones attached to the top side of the loin. They are the same ribs sold as baby back ribs, and they are a valuable byproduct of deboning.
- Chine bone (spine). The flat, sawn portion of the vertebrae attached to the base of the ribs. This is the hardest bone to remove because it connects to both the ribs and the feather bones.
- Feather bones. Small, finger-like projections of the vertebrae that extend upward into the loin meat. They are easy to feel with your fingers and must be cut around during deboning.
- Fat cap. A layer of back fat covering the top of the loin. You will trim this to about a quarter inch for roasting.
- Tenderloin. On a whole loin, the tenderloin muscle sits on the underside, opposite the fat cap. It often gets separated and sold independently, but if your loin has it, remove it before deboning the loin proper.
The key insight is that all these bones connect in predictable ways. The ribs curve away from the loin eye. The chine sits flat at the base. The feather bones point upward. Once you identify these landmarks with your fingers, you know exactly where to cut.
Tools You Need
Deboning a pork loin does not require a lot of specialized equipment, but the right tools make the job faster and cleaner:
- A 5–6 inch boning knife. This is the essential tool. The narrow, flexible blade follows bone contours and gets into tight spots around the feather bones and chine. A stiff boning knife works too, but flexible gives you more feel. Sharpen it before you start.
- A sturdy cutting board. You need space — a whole loin is long. Use the largest board you have and place a damp towel underneath to prevent sliding.
- Paper towels. For drying the meat surface. Wet pork is slippery pork, and slippery pork means less control.
- Butcher twine. For tying the boneless roast afterward. Have 6–8 pieces cut to about 18 inches each.
- A clean tray or sheet pan. For the bones and trim as you work.
Optional but helpful: a proper butcher station setup with the board at a comfortable height. You will be leaning over this cut for 15–20 minutes, and working at the wrong height leads to sloppy knife work and a sore back.
Step 1: Remove the Tenderloin
If your pork loin includes the tenderloin, remove it first. The tenderloin is a narrow, tapered muscle on the underside of the loin, opposite the fat cap. It sits in a natural channel between the ribs and the loin eye and pulls away with minimal knife work.
Run your fingers along the underside of the loin to locate the tenderloin. It feels like a separate, loose cylinder of meat about 1.5 inches in diameter at its thickest. Use your boning knife to cut through the thin membrane connecting it to the loin body, pulling the tenderloin away as you cut. Work from the thick end toward the thin tail.
The tenderloin is too thin and lean to roast with the loin — it would overcook badly. Set it aside for a separate meal. Seared pork tenderloin is one of the best quick weeknight proteins you can make.
Step 2: Remove the Chine Bone and Feather Bones
The chine bone is the flat, sawn vertebral section at the base of the ribs. It is usually the hardest part to remove because it connects to the feather bones that extend up into the meat. Many butcher shops will saw through or remove the chine for you if asked, but if you are doing it yourself, here is the approach.
Position the loin bone-side up on your cutting board. Locate the chine bone — it runs along one edge of the rib section as a flat, hard ridge. You can feel it clearly with your fingers.
With your boning knife, cut along the top edge of the chine bone where it meets the loin meat. Keep the blade pressed against bone, working with short, scraping strokes. You are not trying to power through bone — you are cutting the meat and connective tissue that attaches the loin eye to the vertebrae.
As you cut along the chine, you will encounter the feather bones — thin, flat projections that stick up into the meat like fingers. Cut around each one individually. The technique is to feel the bone with the tip of your knife, then follow its contour with short strokes, freeing the meat from both sides. Once a feather bone is freed, it will lift away with the chine.
Work your way down the entire length of the loin, freeing the chine and feather bones in one connected piece. Take your time here. Rushing leads to meat left on the bones, which is money left on the table. When finished, the chine section should come away cleanly, leaving the rib bones still attached to the loin.
Step 3: Remove the Back Ribs
With the chine gone, you now have the loin eye with the curved back ribs still attached. This is the most satisfying part of the process because the ribs separate from the loin relatively easily once you understand the angle.
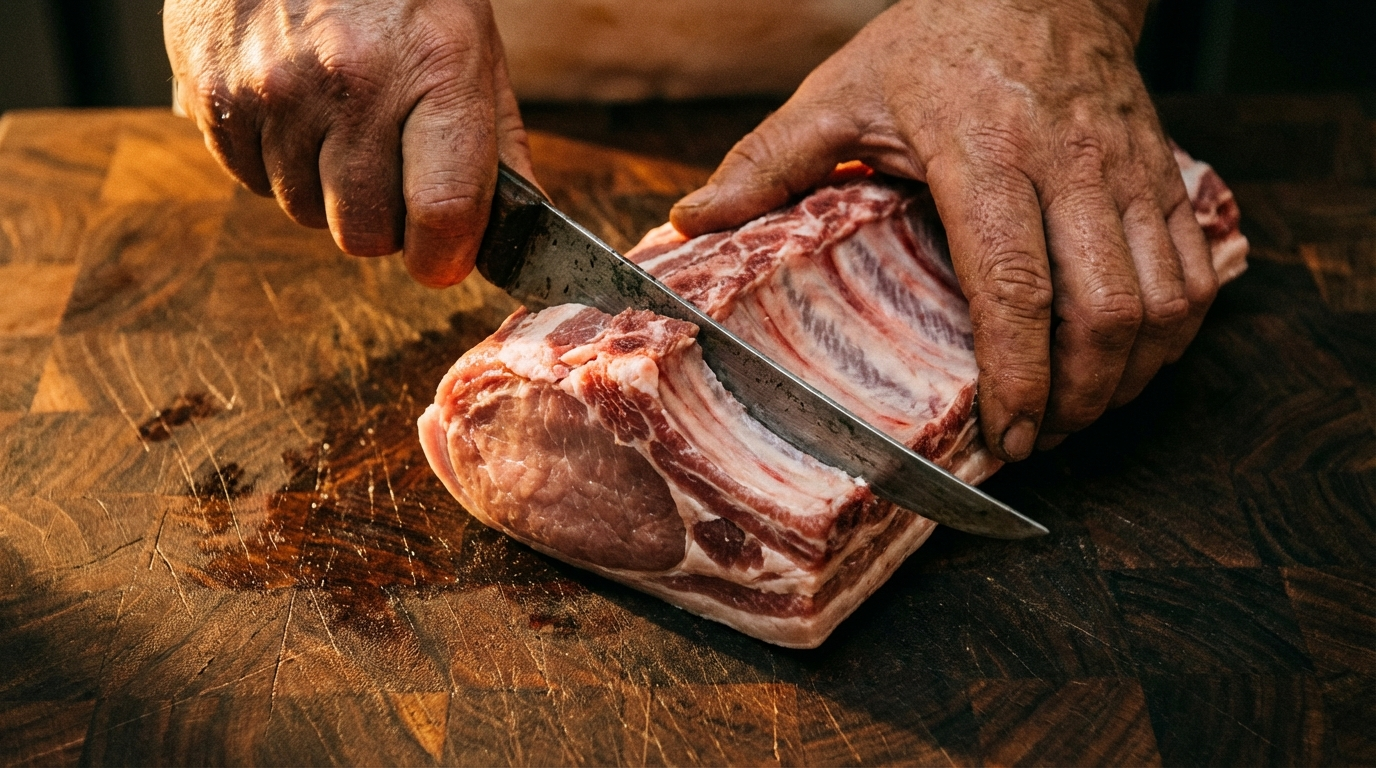
Turn the loin so the rib side faces up. Starting at one end, locate the point where the first rib bone meets the loin meat. Place your boning knife flat against the inside curve of the rib and cut downward, following the bone. The ribs curve away from the loin — your knife should follow that curve.
Work one rib at a time, using long, sweeping strokes that keep the blade pressed against bone. You are essentially peeling the loin meat away from the rib cage. As you free each rib, pull the rib section upward slightly with your other hand to create tension, which makes the separation point visible and easier to cut.
Continue down the length of the loin until the entire rib rack separates as one piece. A whole bone-in loin will yield a rack of approximately 10–13 baby back ribs. That is a significant bonus — at retail, a rack of baby backs costs $7–$12 per pound depending on your market. You just got them for free.
Inspect the boneless loin for any small bone fragments or cartilage left behind. Run your fingers over the surface where the ribs were attached — you should feel nothing but smooth meat. If you find a fragment, cut it out with the tip of your boning knife.
Step 4: Trim the Silverskin and Fat Cap
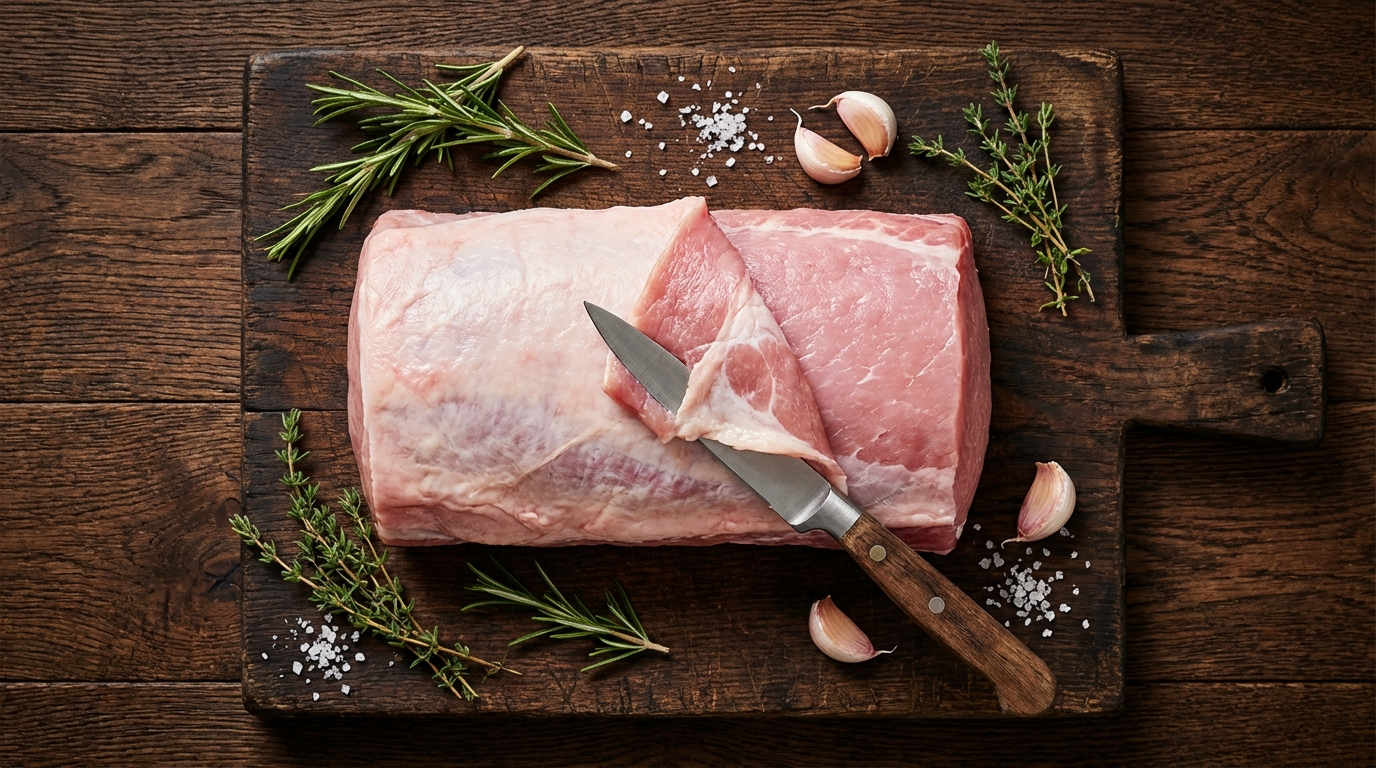
Now you have a boneless pork loin. Before it is roast-ready, it needs trimming.
Silverskin removal. Silverskin is the thin, silvery-white membrane that covers parts of the loin surface, particularly where the bones were attached. Unlike fat, silverskin does not render during cooking. It stays tough and chewy, so it needs to come off.
To remove silverskin, slide the tip of your boning knife under one end of the membrane, angling the blade slightly upward. Once you have a tab of silverskin freed, grip it with a paper towel (it is slippery) and pull it taut. Hold your knife at a low angle, almost flat against the meat, and slide it forward under the membrane. The silverskin should peel away in strips. Work in sections rather than trying to remove it all in one pass.
Fat cap trimming. The fat cap on the top of the loin should be trimmed to about a quarter inch of uniform thickness. This amount of fat bastes the meat during roasting without leaving an unpleasantly thick layer on the finished roast. Use a sharp chef's knife or cimeter for this — long, even strokes work better than short ones for creating a smooth fat surface.
Save all the trim. Fat scraps go into your grind pile for sausage or ground pork. Even the silverskin and connective tissue can go into stock.
Step 5: Tie and Portion the Boneless Loin
A boneless pork loin is not perfectly cylindrical — it tapers at both ends and may have an uneven shape where the bones were removed. Tying it with butcher twine solves this by compressing the meat into a uniform cylinder that cooks evenly.
Cut 6–8 pieces of butcher twine, each about 18 inches long. Starting at one end of the loin, tie a simple butcher's knot every 1.5 inches along the length. Pull each knot snug enough to compress the meat into a round cross-section, but not so tight that you squeeze juice out. If the thin tail end is significantly narrower than the center, fold it under before tying to create consistent thickness throughout.
At this point you have two options for portioning:
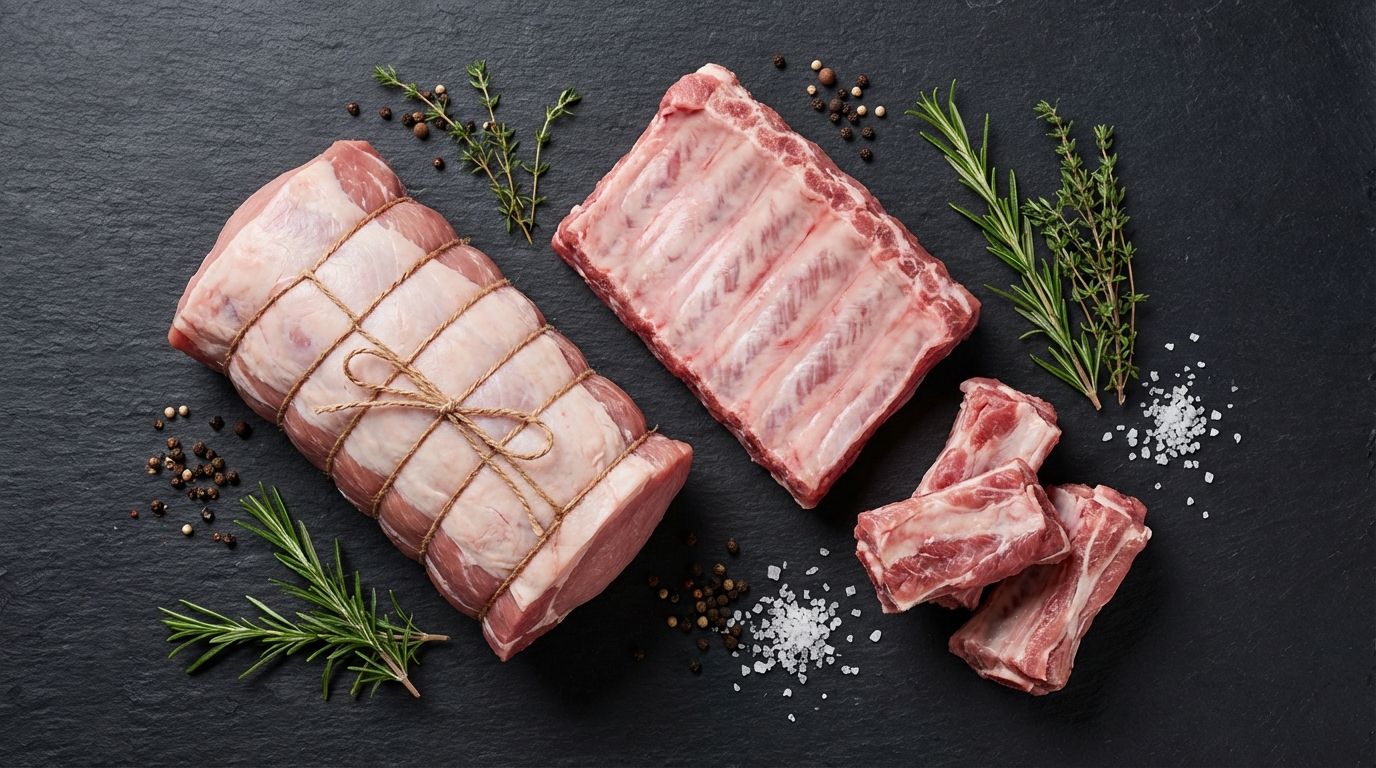
- Whole roast. Leave the tied loin whole for roasting. A boneless pork loin roast is one of the most versatile cuts in the kitchen — roast it, stuff it, smoke it, or cure it for lonza.
- Boneless chops. Slice between the twine ties for boneless center-cut pork chops, about 1 to 1.5 inches thick. These are the same chops that cost a premium at retail, and you can cut them to your preferred thickness.
- Combination. Cut a 3–4 pound roast from the center, then portion the ends into chops. This gives you two meals from one cut.
Yield and Cost Analysis
Understanding yield is what makes deboning your own pork loin financially worthwhile. Here is a typical breakdown from a 16-pound bone-in whole pork loin:
- Boneless loin eye: 10–11 pounds (62–69% yield)
- Baby back ribs: 2–2.5 pounds
- Tenderloin: 0.75–1 pound
- Chine and feather bones: 1.5–2 pounds (stock material)
- Fat and trim: 1–1.5 pounds (grinding or rendering)
At typical retail prices, a bone-in whole pork loin runs $2.50–$3.50 per pound. A boneless center-cut pork loin roast costs $4–$6 per pound. Baby back ribs cost $7–$12 per pound. Pork tenderloin costs $5–$8 per pound. By buying bone-in and deboning yourself, you get the equivalent of $70–$90 in retail cuts for $40–$56 in raw material.
That math gets even better when you factor in custom portioning. You control the thickness of every chop, the size of every roast, and the trim level on every piece. No butcher counter can match that precision for your specific needs.
Common Mistakes and How to Avoid Them
After teaching this technique to hundreds of students and apprentices, I see the same mistakes repeatedly:
- Cutting too far from the bone. The most expensive mistake. If your knife wanders even a quarter inch from the rib bones, you leave meat on the ribs and reduce your loin yield. Always keep the blade pressed against bone. If you cannot feel bone against the blade, you have drifted.
- Using a dull knife. A dull boning knife tears connective tissue instead of cutting it. This makes the job harder, slower, and messier. You end up with ragged surfaces that are harder to trim and tie. Sharpen before every deboning session.
- Rushing the feather bones. The feather bones require patience. They are embedded in the loin meat and must be cut around individually. Trying to rip or pry them out tears the meat and creates an ugly, uneven surface.
- Leaving silverskin on. It is easy to miss thin patches of silverskin, especially on the surface where the ribs were attached. Run your fingers over the entire boneless loin and remove any membrane you feel. Your diners will thank you.
- Skipping the tie. An untied boneless loin cooks unevenly because the tapered ends reach temperature much faster than the thick center. Even if you are cutting chops, tie first, then slice between the strings. The chops hold their shape better.
- Throwing away the bones. The chine, feather bones, and rib trim make excellent pork stock. Roast them at 400°F for 30 minutes, then simmer in water for 4–6 hours. Free stock from bones you already paid for.
What to Do with the Baby Back Ribs
The separated rib rack is a cut that many home butchers undervalue. Baby back ribs — also called loin back ribs — are the curved ribs that were attached to the loin eye. They are shorter and leaner than spare ribs, which come from the belly side.
After separation, your rib rack may have some meat left on it. That is fine — it means more to eat. Trim any ragged edges and remove the membrane from the bone side (the concave surface). This membrane is tougher than loin silverskin and will not render during cooking. Peel it off by grabbing a corner with a paper towel and pulling.
Season and smoke the ribs at 225–250°F for 4–5 hours, or braise them in the oven at 300°F for 2.5–3 hours covered in foil. Either way, you have a second meal from the same primal purchase.
Frequently Asked Questions
How long does it take to debone a pork loin?
For a beginner, expect 20-30 minutes for a whole bone-in pork loin. With practice, the process takes 10-15 minutes. The chine and feather bones take the most time; the rib removal goes quickly once you find the right angle.
Can I debone a pork loin with a chef knife instead of a boning knife?
A chef knife can work for removing the ribs and general trimming, but it is too wide and rigid for the chine and feather bones. A boning knife with a 5-6 inch flexible blade gives you the control needed to follow bone contours without leaving meat behind.
What is the difference between a pork loin and a pork tenderloin?
The pork loin is a large primal cut from the back of the pig, weighing 14-20 pounds bone-in. The tenderloin is a small, narrow muscle (about 1 pound) that sits underneath the loin along the spine. They are different muscles entirely, though they are sometimes sold together in a bone-in whole loin.
Should I debone pork loin before or after brining?
Always debone before brining. Bone-in meat brines unevenly because the bone blocks salt penetration. Deboning exposes more surface area, which allows the brine to penetrate uniformly. You will get better seasoning and more even moisture retention throughout the roast.
How much money do I save by deboning pork loin myself?
Typically 40-50% compared to buying boneless. A bone-in whole loin costs $2.50-3.50 per pound, while boneless center-cut runs $4-6 per pound. Plus you get baby back ribs ($7-12/lb retail) and tenderloin ($5-8/lb) as byproducts. A 16-pound bone-in loin yields roughly $70-90 worth of retail cuts for about $40-56.
More Expert Guides
How to Trim a Brisket: The Complete Butcher's Guide
Proper brisket trimming is the difference between a backyard experiment and competition-quality results. Here is the professional technique for shaping a whole packer brisket before it ever touches the smoker.
14 min readHow to Butcher a Whole Chicken: Step-by-Step Guide
Breaking down a whole chicken yourself saves 40-50% compared to buying individual parts. Here is the professional technique for turning one bird into perfectly portioned pieces.
14 min readHome Butchering Safety Guide: Essential Protocols for Safe Meat Processing
Learn professional butchering safety protocols from a master butcher with 25+ years of experience. Essential guidance for anyone processing meat at home.